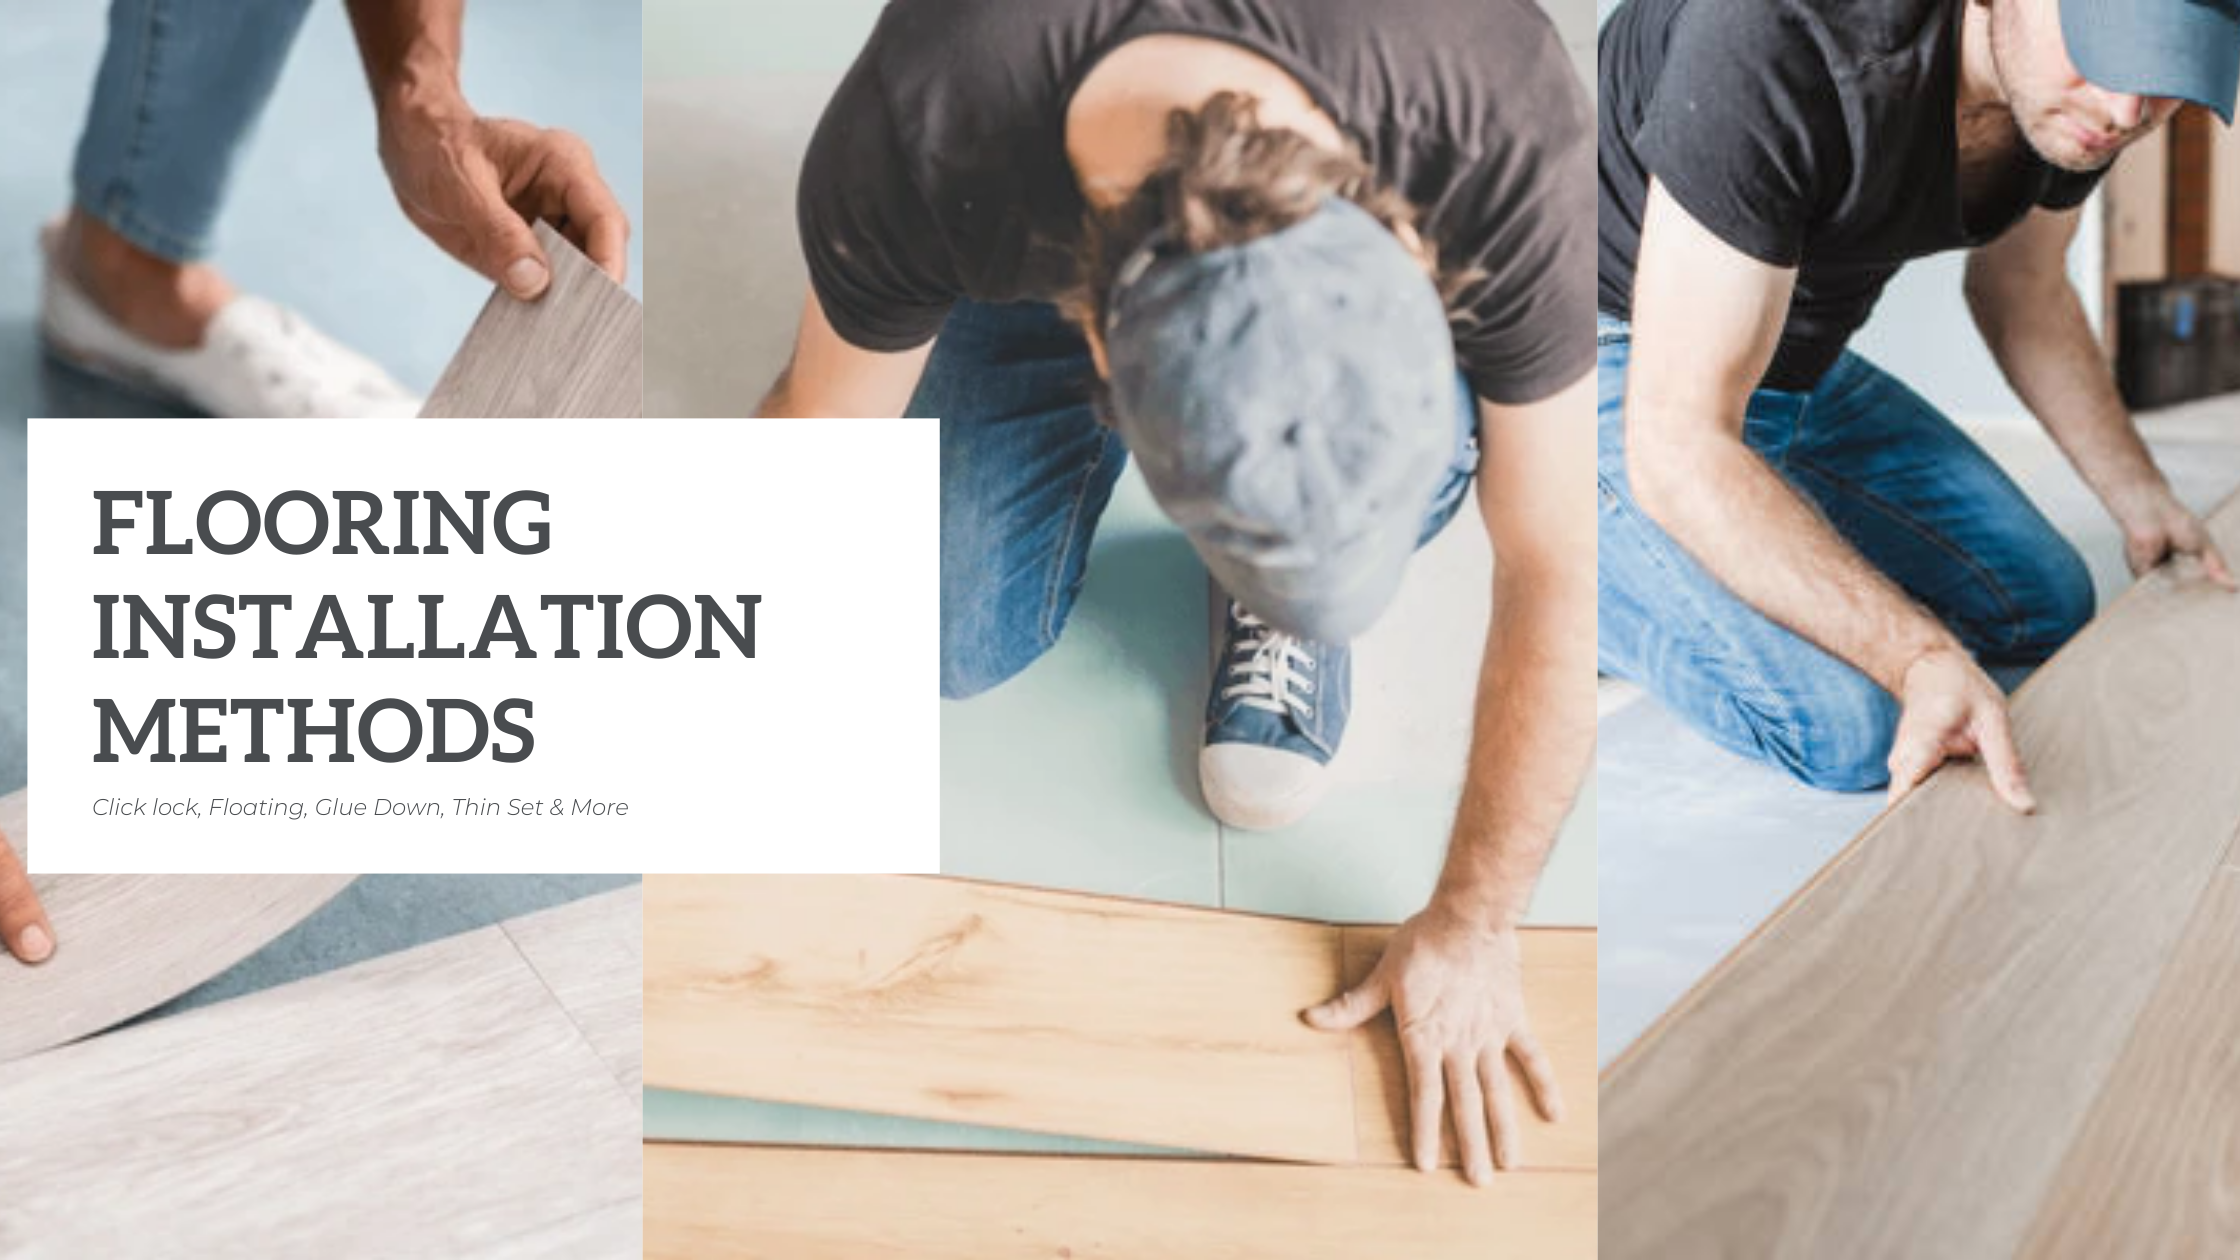
Selecting the best flooring installation technique can sometimes feel confusing and stressful. Homeowners often find themselves puzzled by terms like "click lock," "floating," "glue down," and "thin set." Every installation method has different steps, advantages, and difficulties. This blog aims to briefly discuss three common installation techniques, providing clear insights to help you choose your next flooring project.
Type of Flooring Methods:
Click Lock Installation
Click lock has edges that connect easily without glue or adhesive. This method is popular among DIY enthusiasts due to its easy and simple installation process.
How to Install Click Lock Planks:
Prepare the Subfloor:
Ensure it's clean, dry, and level.
Underlayment:
Lay down an appropriate underlayment if required by the flooring manufacturer.
Plank Installation:
- Start laying the first plank at a corner, keeping the side with the small edge pointing toward the wall.
- Slide the edge of the next plank into the gap of the one before it, tilt it a little, then press it down so it clicks into place.
- Continue this process, row by row.
Floating Floor Installation
A floating floor sits on top of the surface underneath and doesn’t get glued or nailed down. The planks hold together by locking into each other. This method allows for natural expansion and contraction.
How to Install a Floating Floor:
Underlayment:
Install underlayment to reduce noise and provide moisture protection.
Plank Installation:
- Begin along the longest wall, placing spacers to maintain an expansion gap.
- Connect planks using the manufacturer's locking mechanism.
- Stagger the seams for a natural appearance.
Finishing Touches:
Remove spacers and install baseboards or molding to cover expansion gaps.
Glue Down Installation
Installation like Glue down involves adhering planks or tiles directly to the subfloor using a recommended adhesive. This method provides a permanent solution.
How to Put Glue Down Floor Covering
Subfloor Preparation:
Check that the floor underneath is even, dry, and clean.
Adhesive Application:
Use a trowel to spread adhesive evenly over a small section of the subfloor.
Check the glue label to see how long it should sit before you start laying the flooring on it.
Plank Installation:
- Place the flooring into the adhesive, pressing firmly.
- Use a roller to press the flooring down firmly and push out any air bubbles underneath.
- Curing Time: Allow the adhesive to cure as per the manufacturer's guidelines before walking on the floor.
Thin Set Installation
Thinset is a cement-based adhesive used primarily for installing ceramic or porcelain tiles. It makes sure the tile stays well attached to the floor below.
What is Thin Set?
Thin set mortar is made by mixing cement, soft sand, and something that keeps it from drying too quickly. It's applied with a notched trowel to create a uniform layer for tile installation.
How to Thin Set Tile Installation:
Surface Preparation:
Ensure the subfloor is clean, dry, and level.
Mixing Thin Set:
- Follow the manufacturer's instructions for mixing proportions.
- Mix until achieving a peanut butter-like consistency.
Application:
- Use a notched trowel to spread the thin set evenly over a small area.
- Push the tiles gently but firmly into the thin set, and place spacers between them to keep the gaps even.
Curing and Grouting:
- Give the thin set enough time to fully dry as instructed.
- When the thin set is fully dry, take out the spacers and spread grout in the gaps between the tiles.
Outcome:
Understanding these flooring installation methods, and where it installed in vinyl, tile & stone, hardwood, and laminate can help you choose the best option for your project. Consider factors like the type of flooring material, the condition of your subfloor, and your comfort level with DIY projects. Always follow manufacturer guidelines and, when in doubt, consult with a professional installer to ensure a successful outcome.


