
Ceramic Floor Tiles
614 products
Showing 505 - 528 of 614 products


 Daltile Color wheel Linear 2" x 8" Ceramic Rectangle Wall Tile
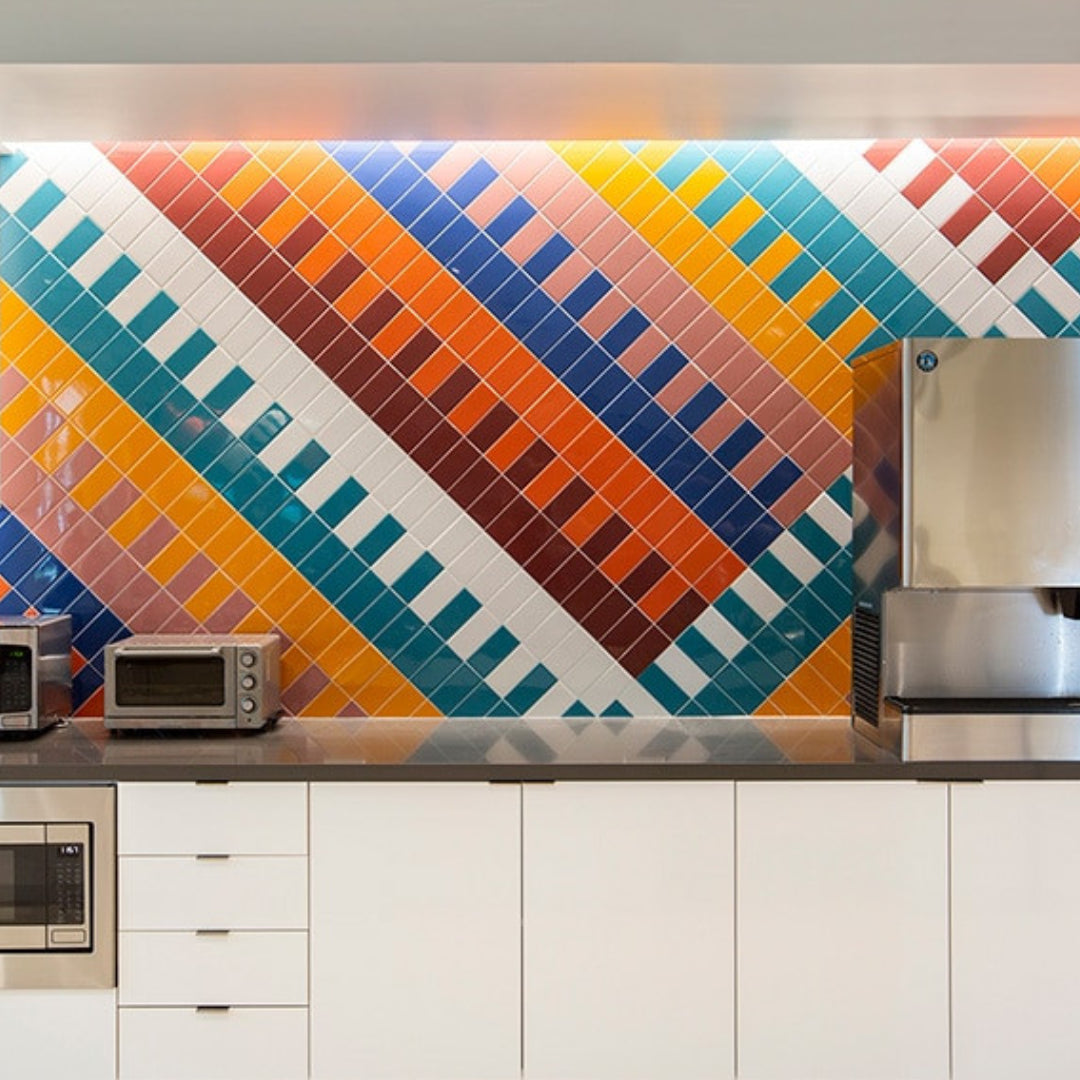
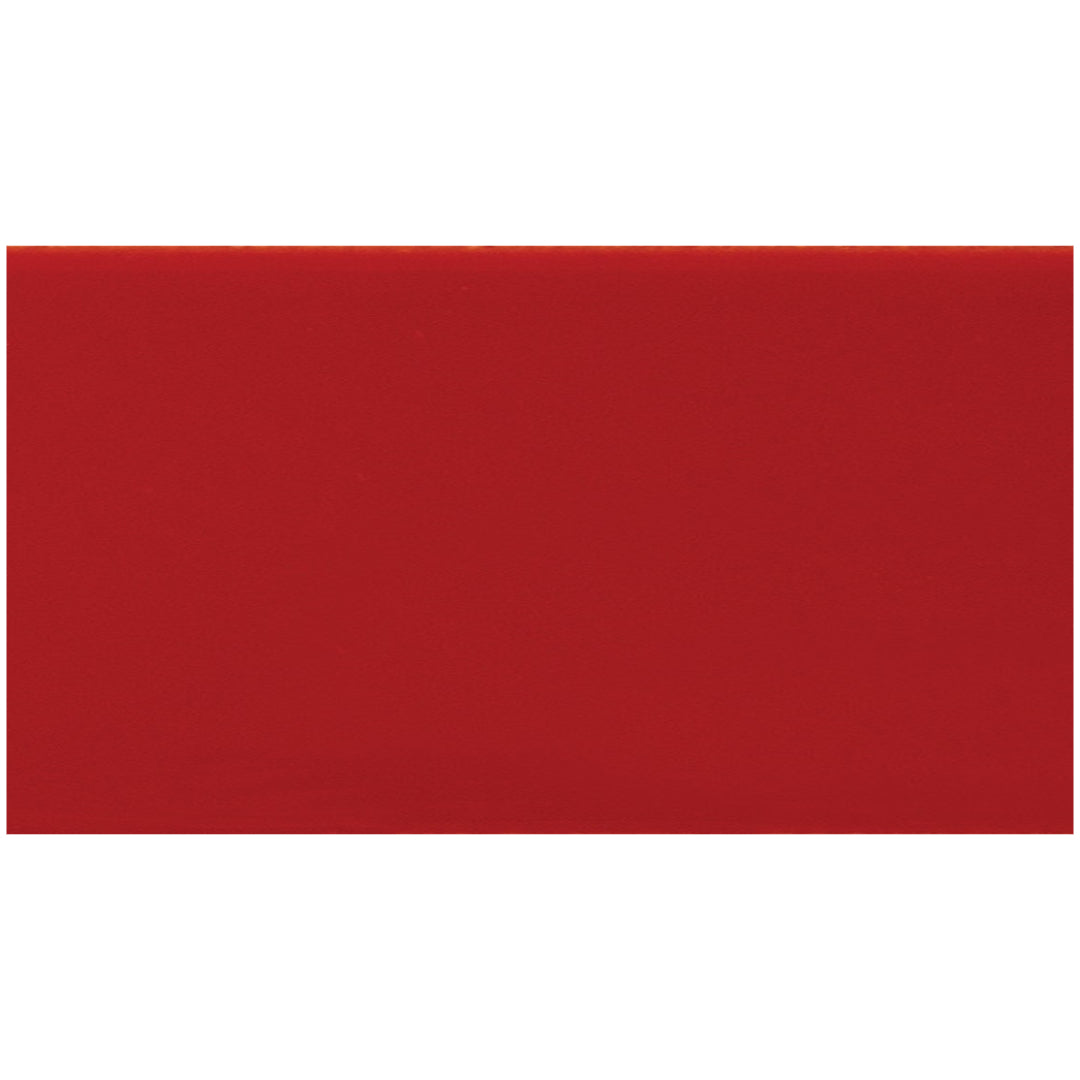
 Daltile Colormatch 4" x 16" Glossy Glazed Ceramic Rectangle Wall Tile
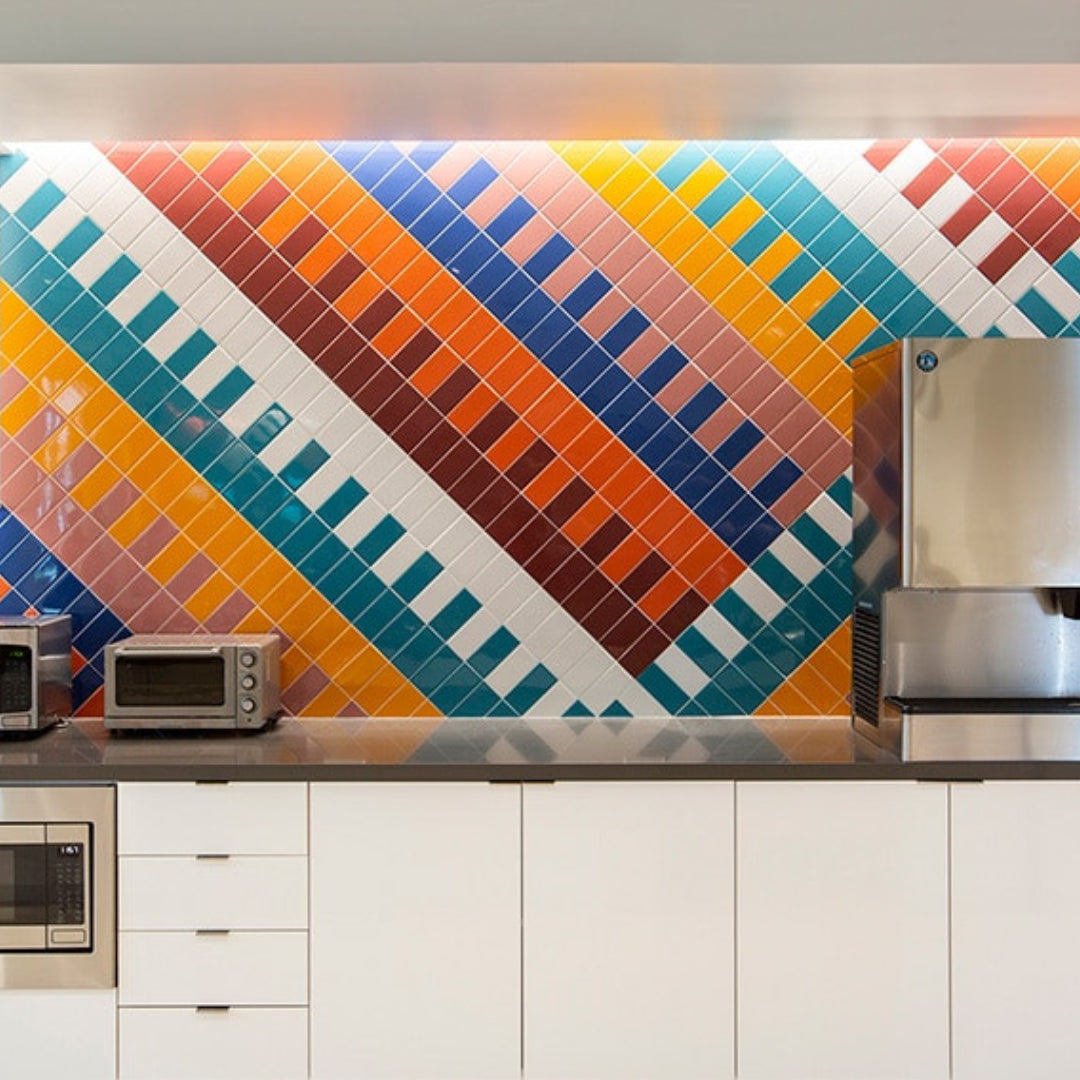
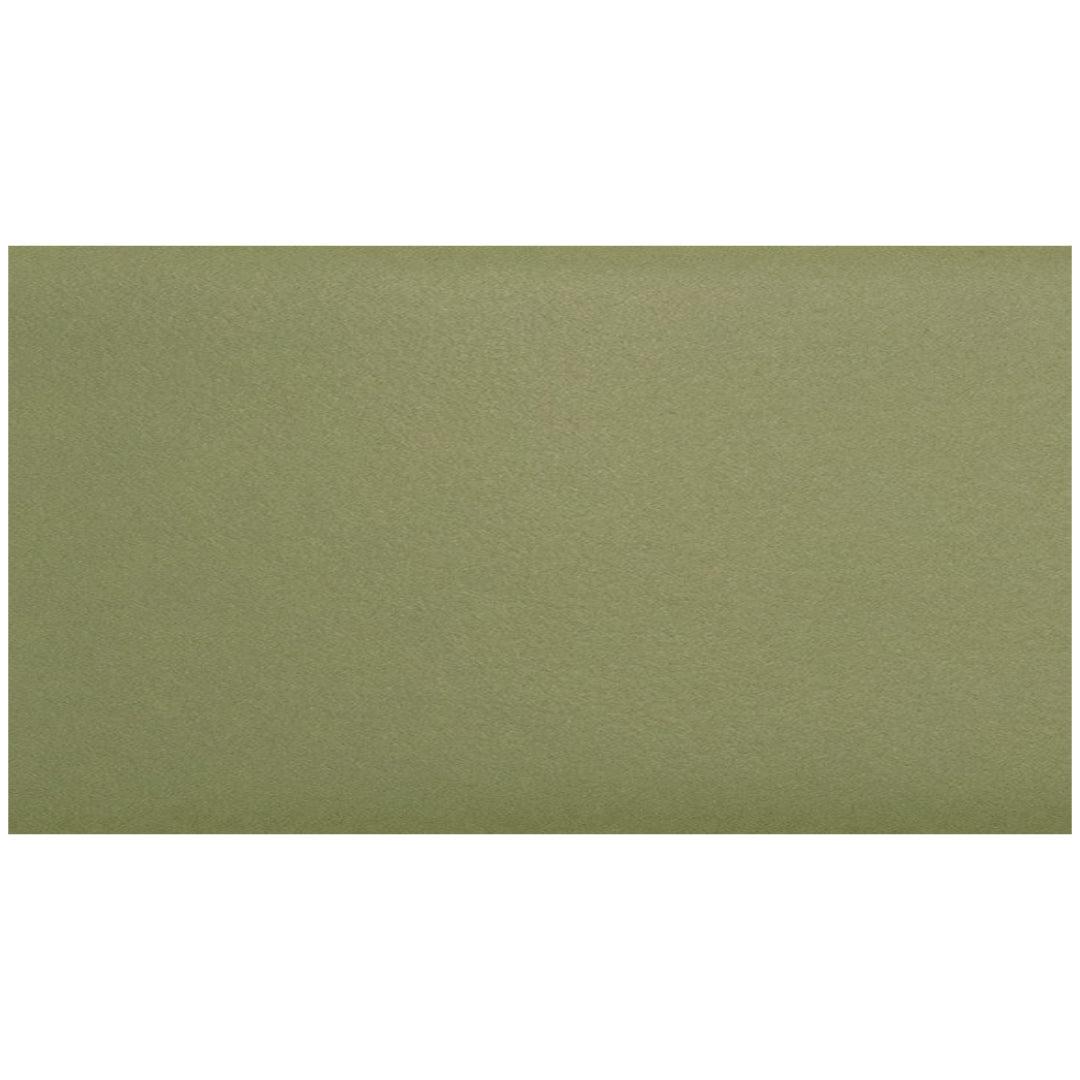
 Daltile Colormatch 4" x 12" Matte Glazed Ceramic Rectangle Wall Tile
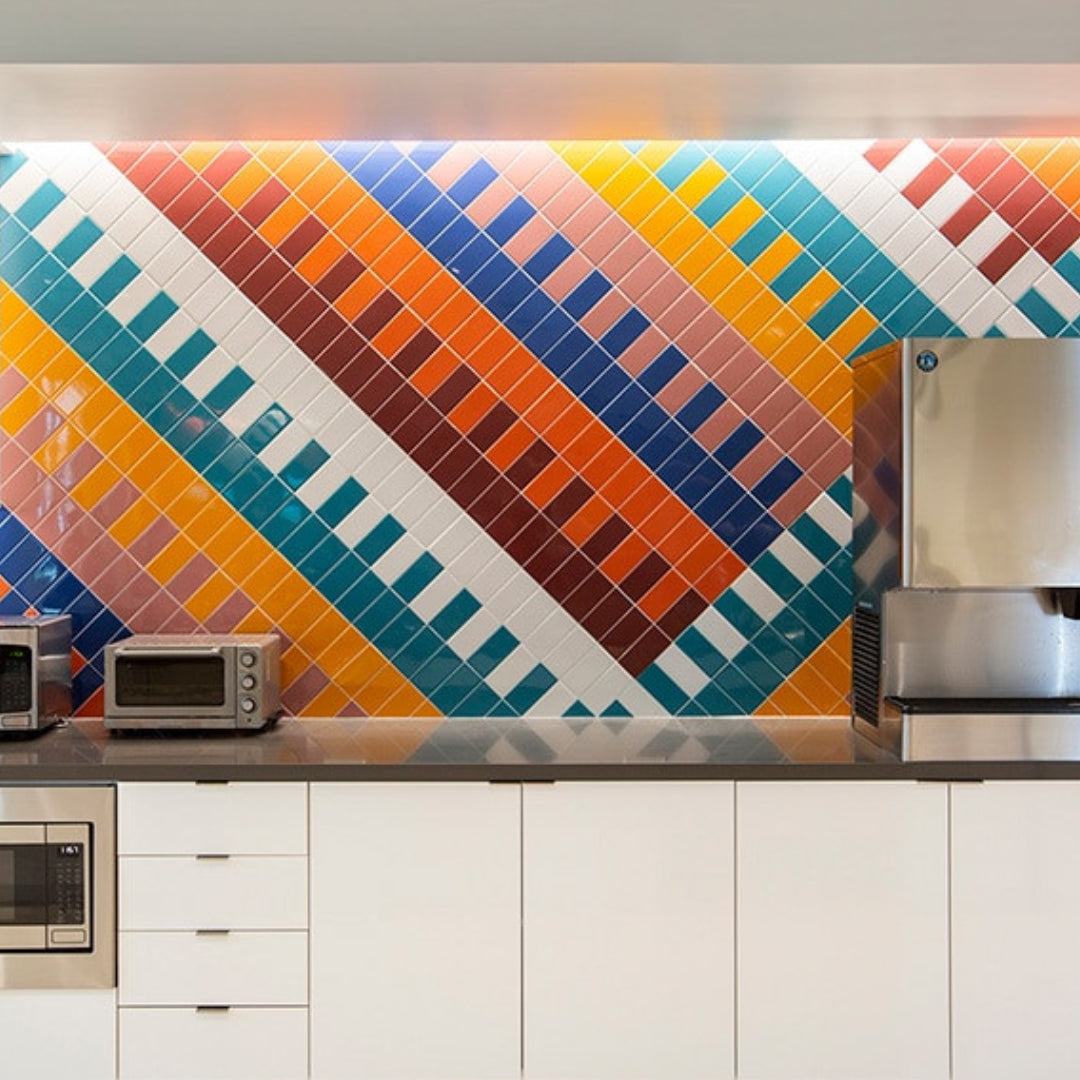
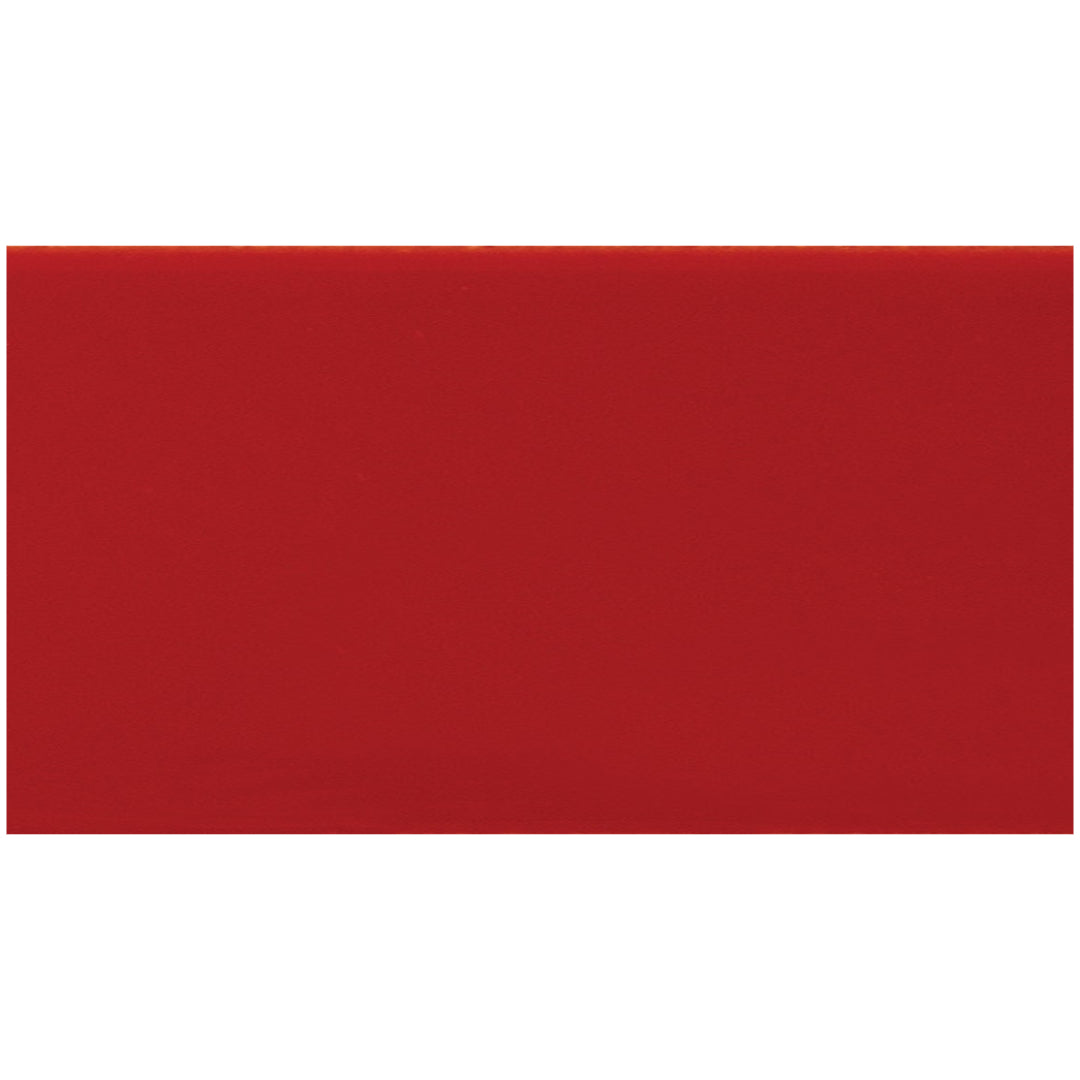
 Daltile Colormatch 4" x 12" Glossy Glazed Ceramic Rectangle Wall Tile
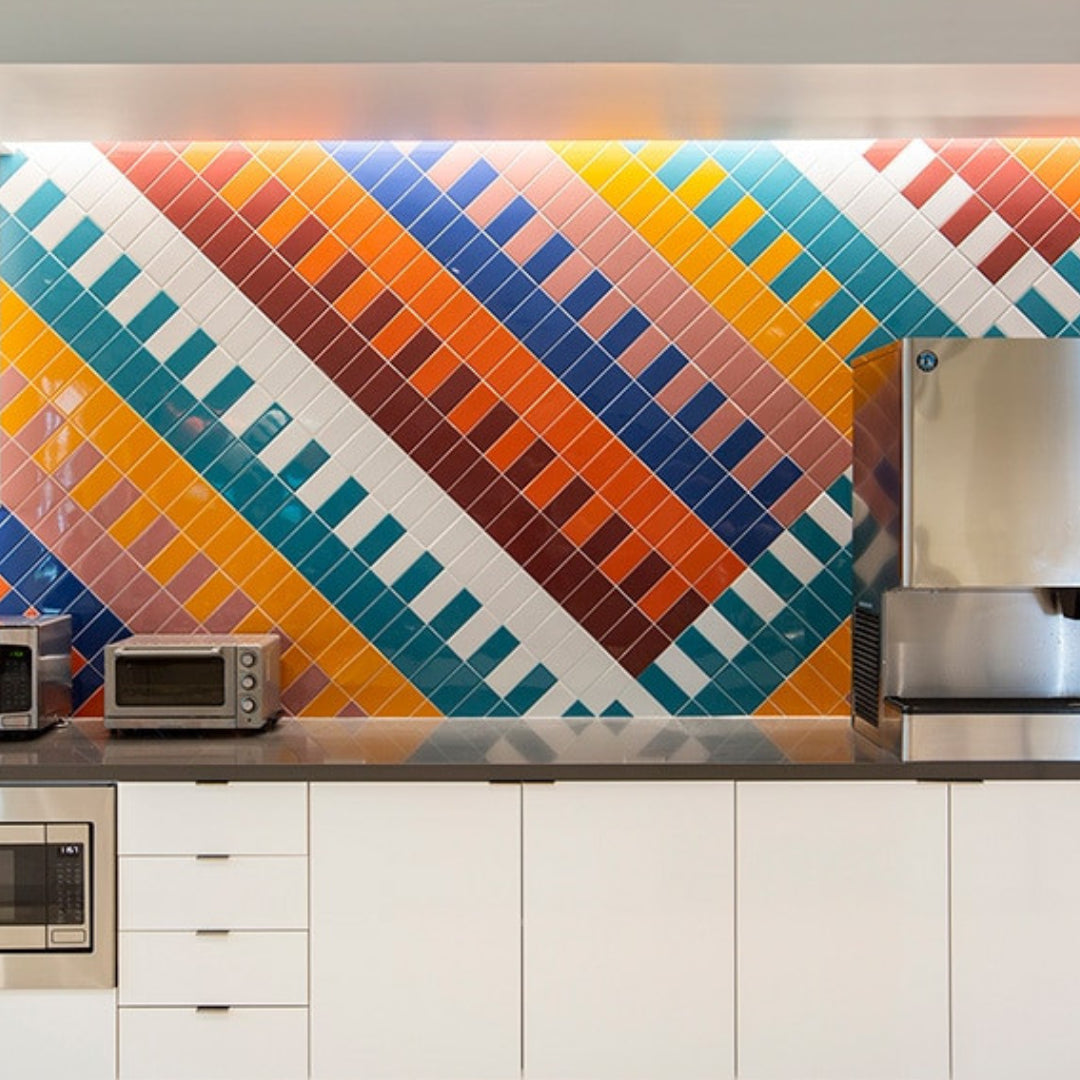
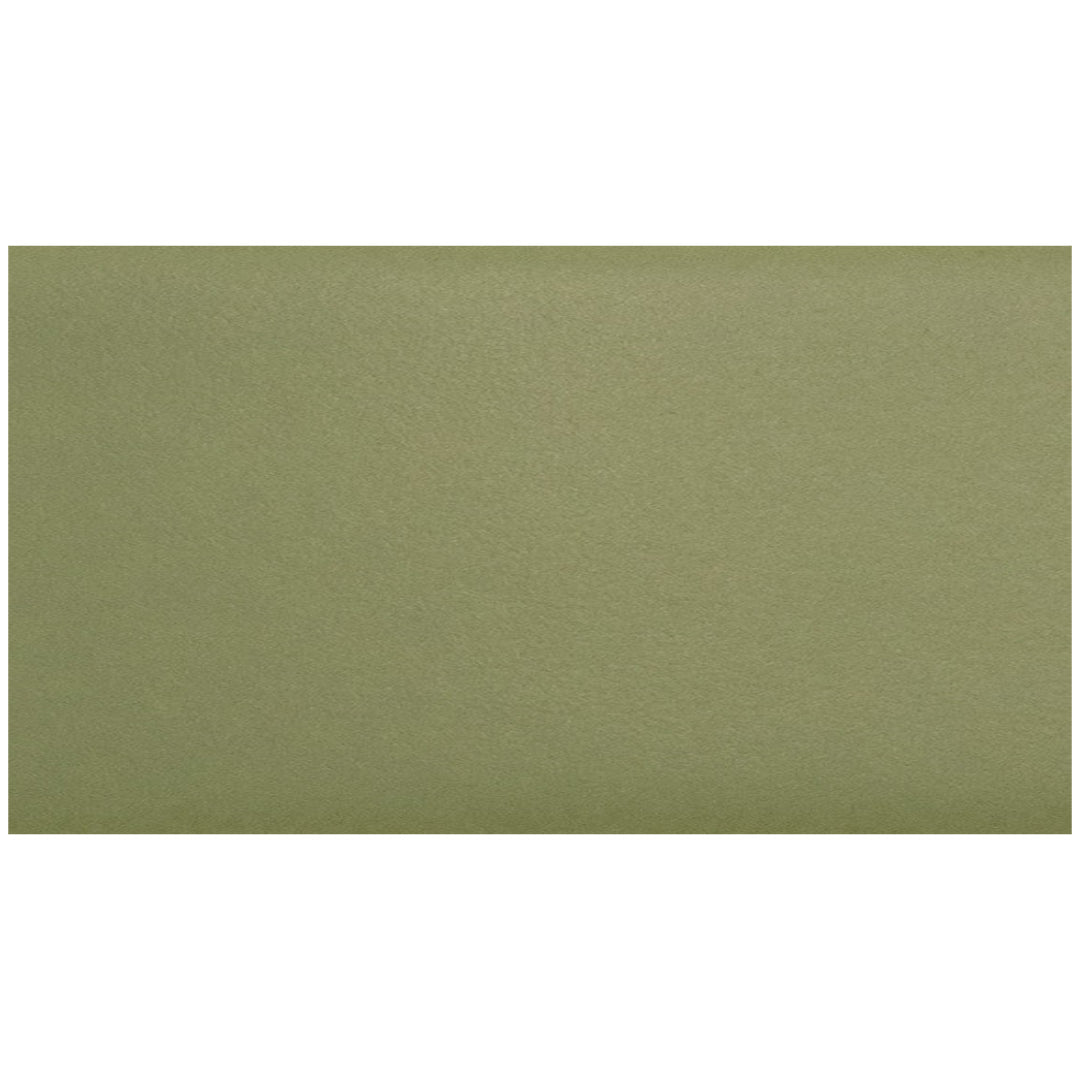
 Daltile Colormatch 3" x 6" Matte Glazed Ceramic Rectangle Wall Tile
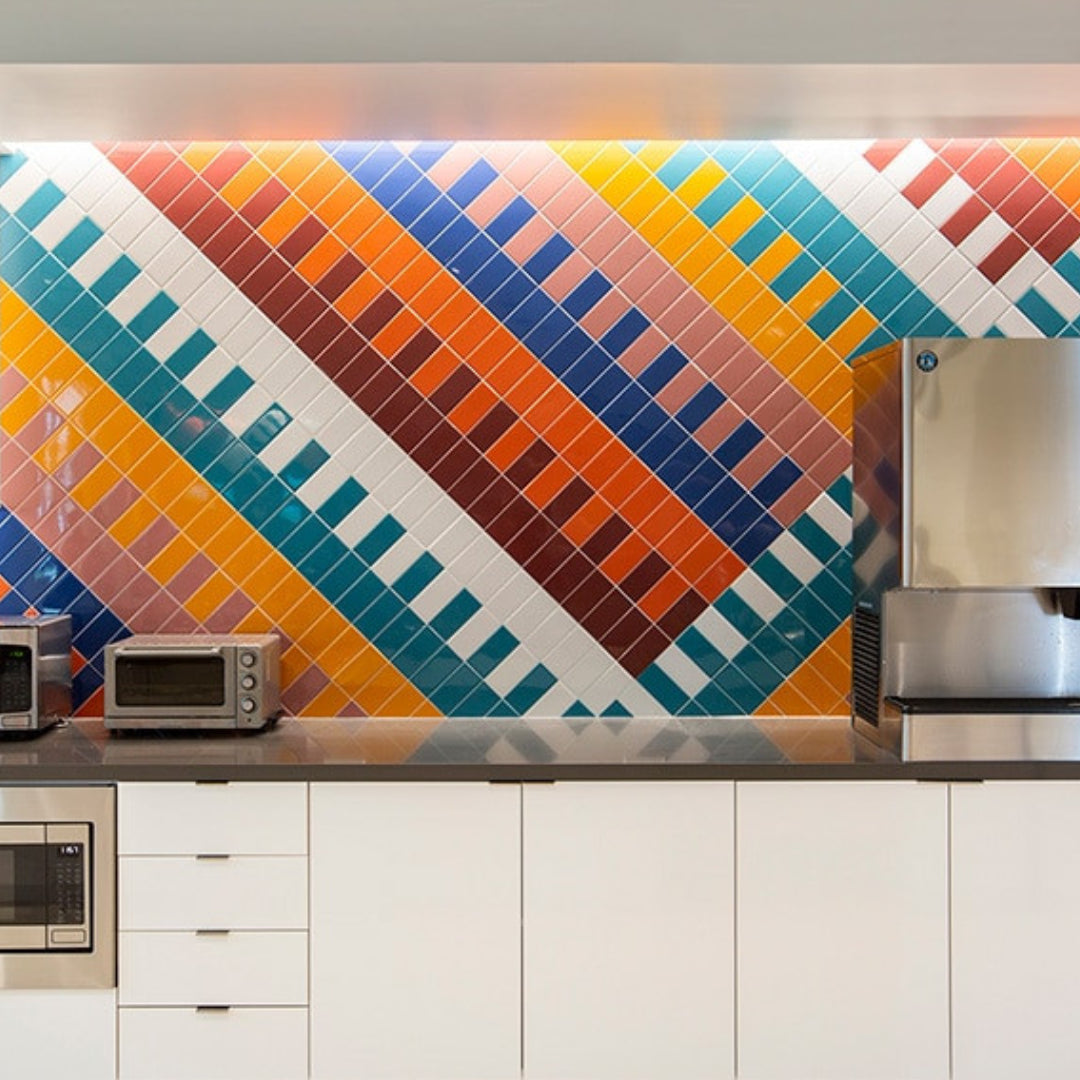
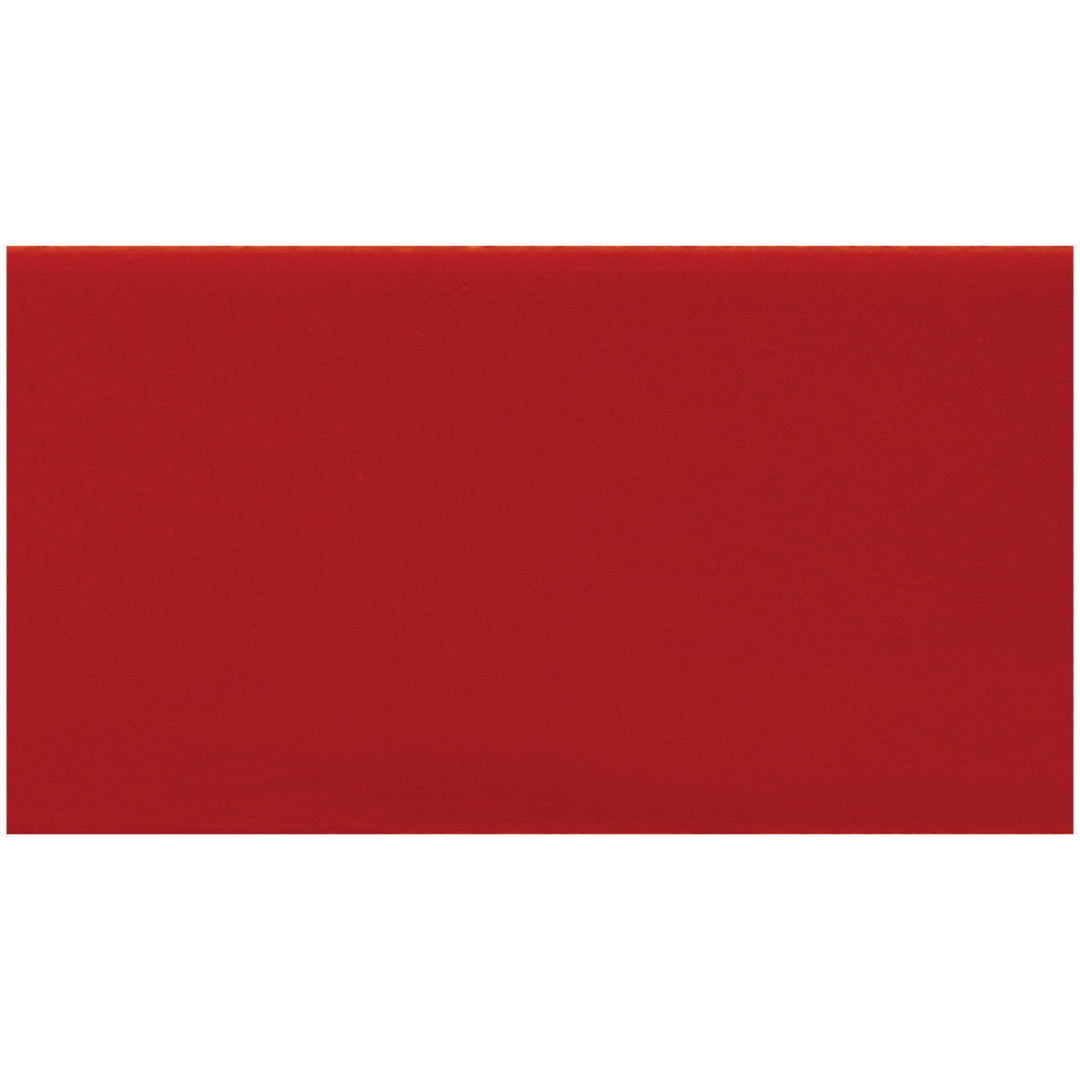
 Daltile Colormatch 3" x 6" Glossy Glazed Ceramic Rectangle Wall Tile
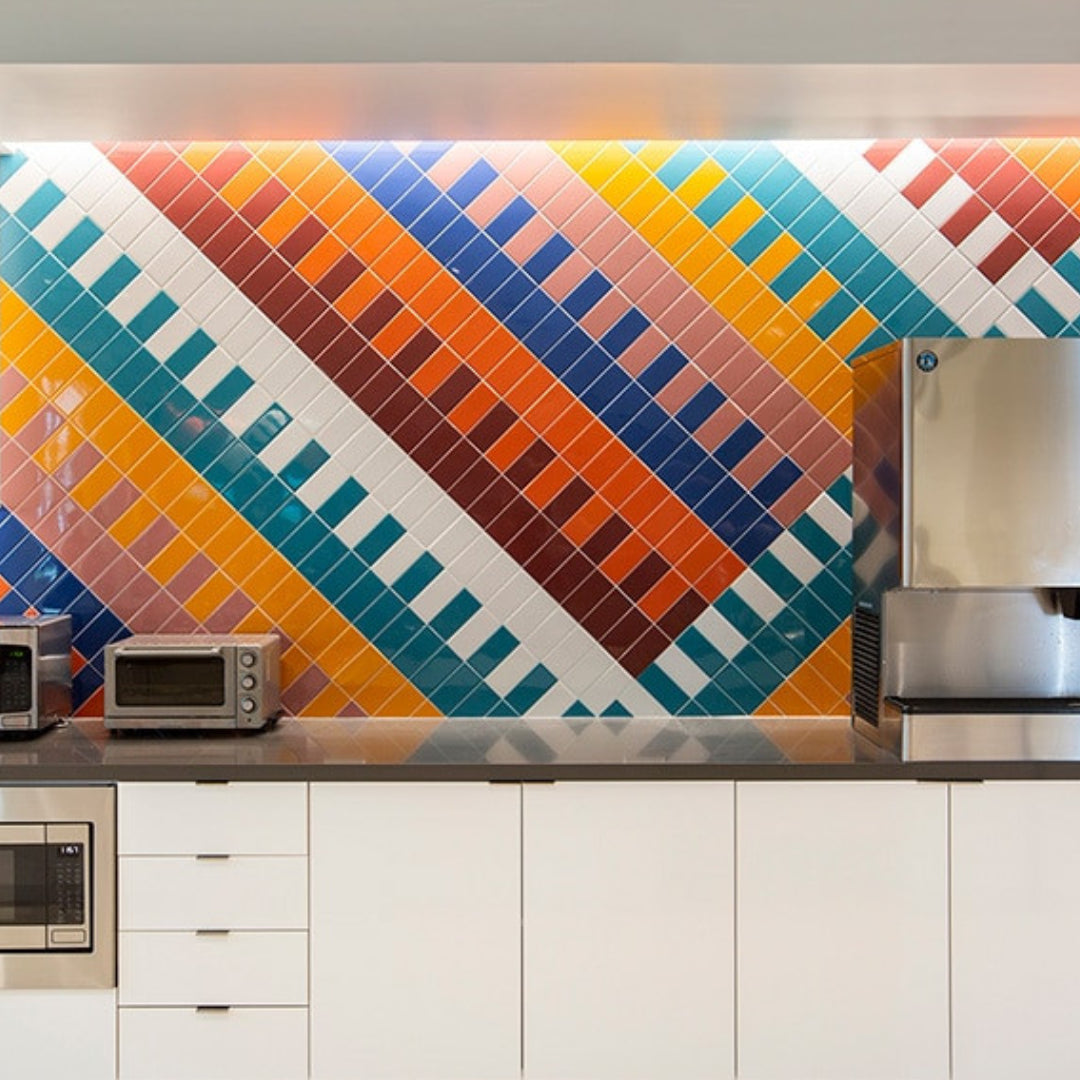
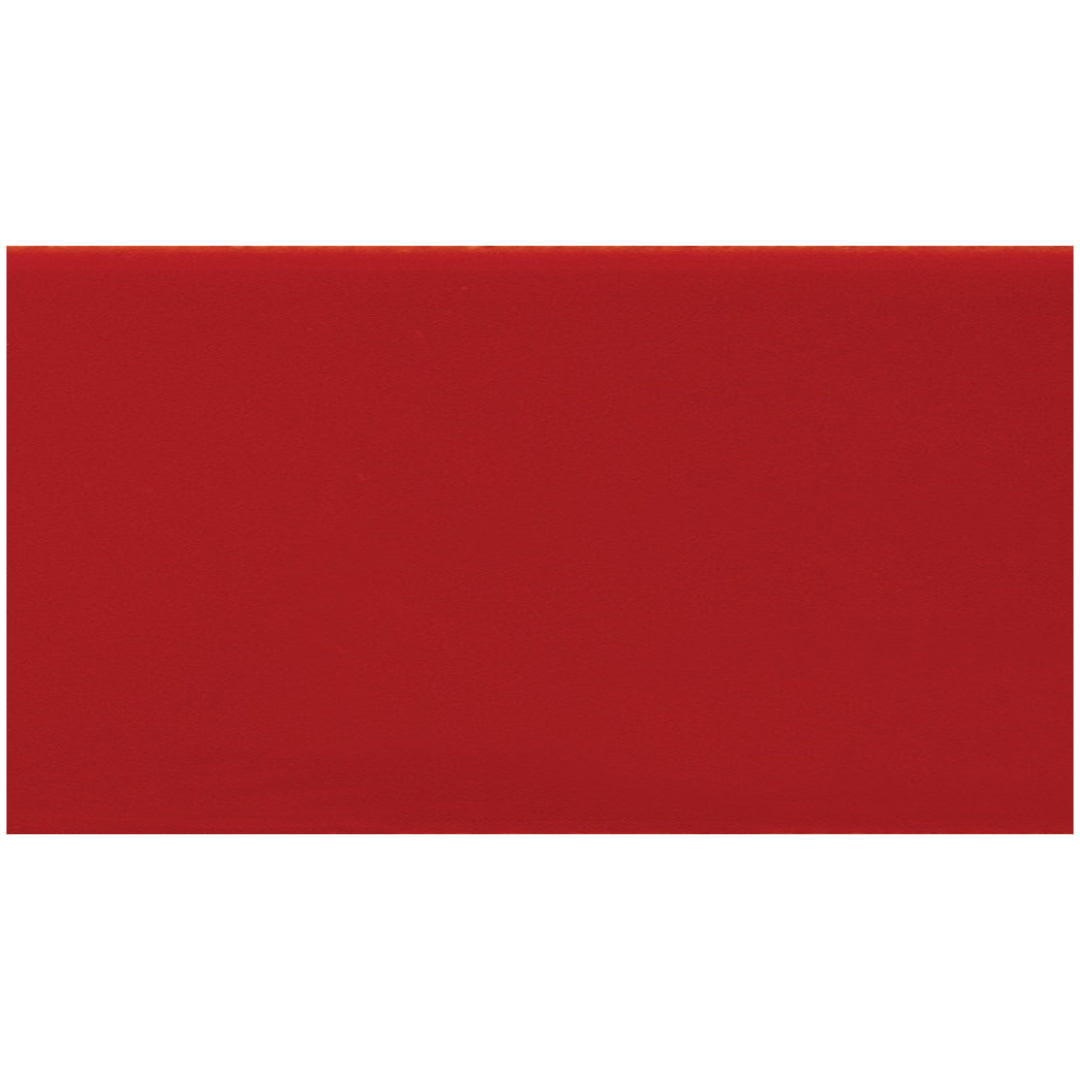
 Daltile Colormatch 3" x 12" Glossy Glazed Ceramic Rectangle Wall Tile
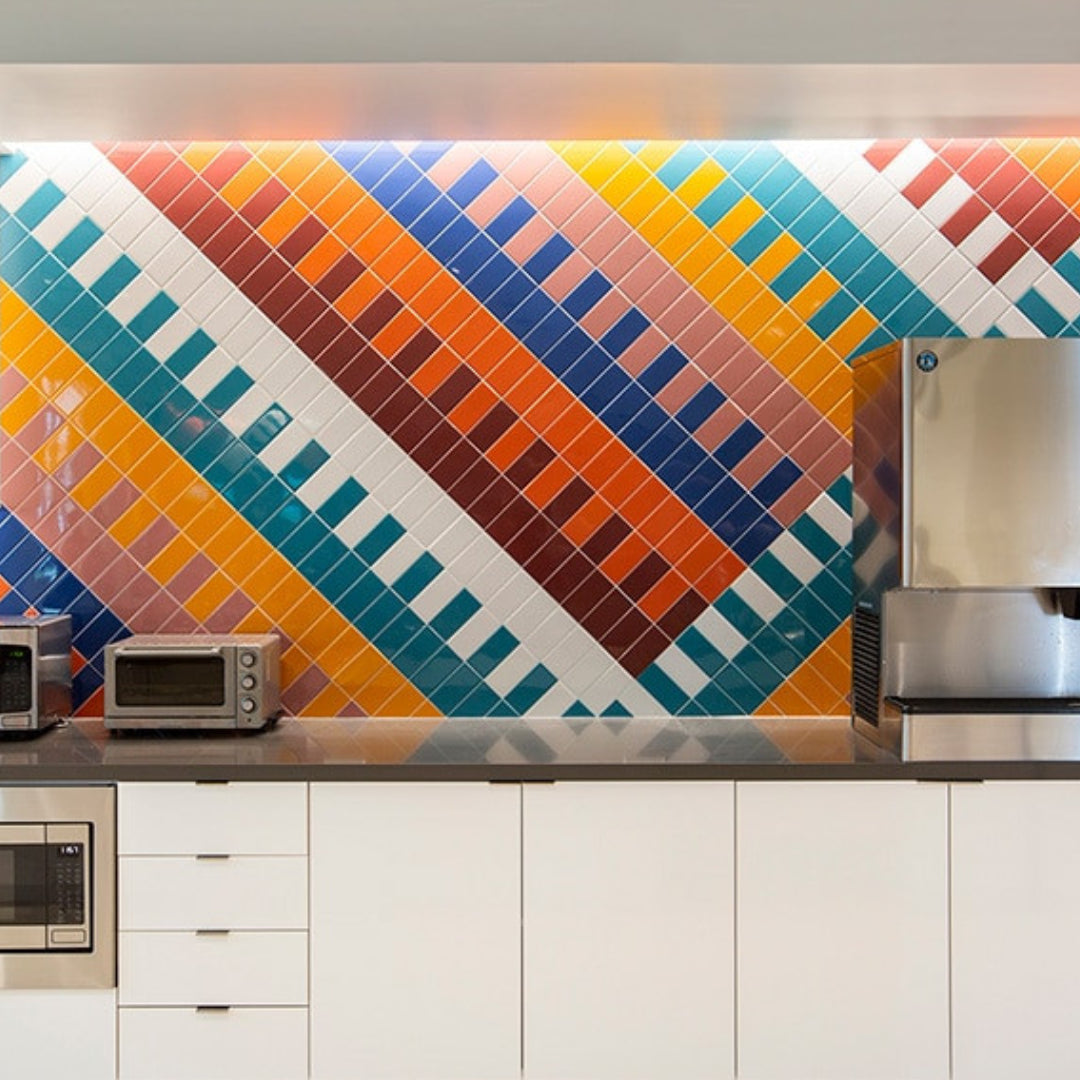
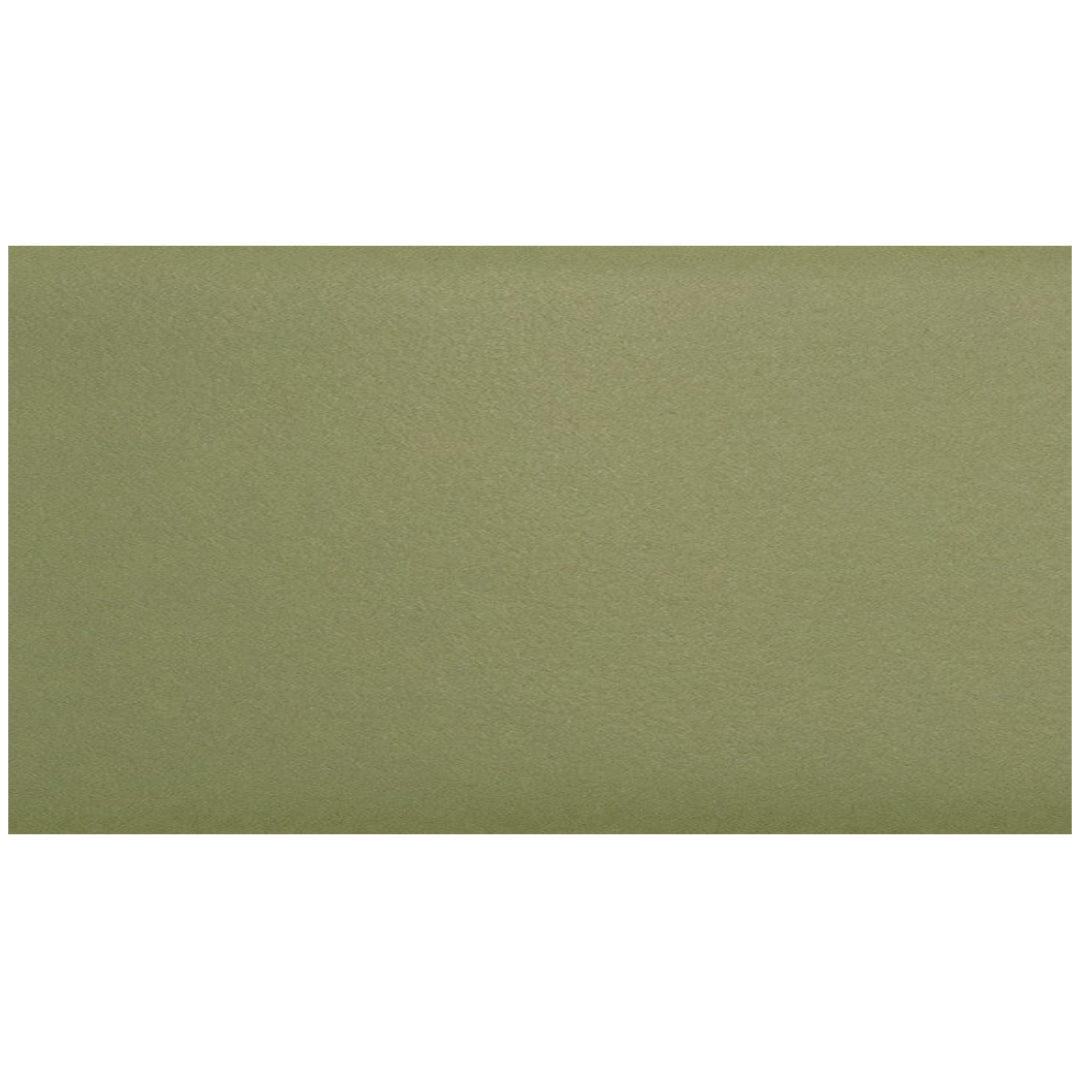
 Daltile Colormatch 2" x 8" Matte Glazed Ceramic Rectangle Wall Tile
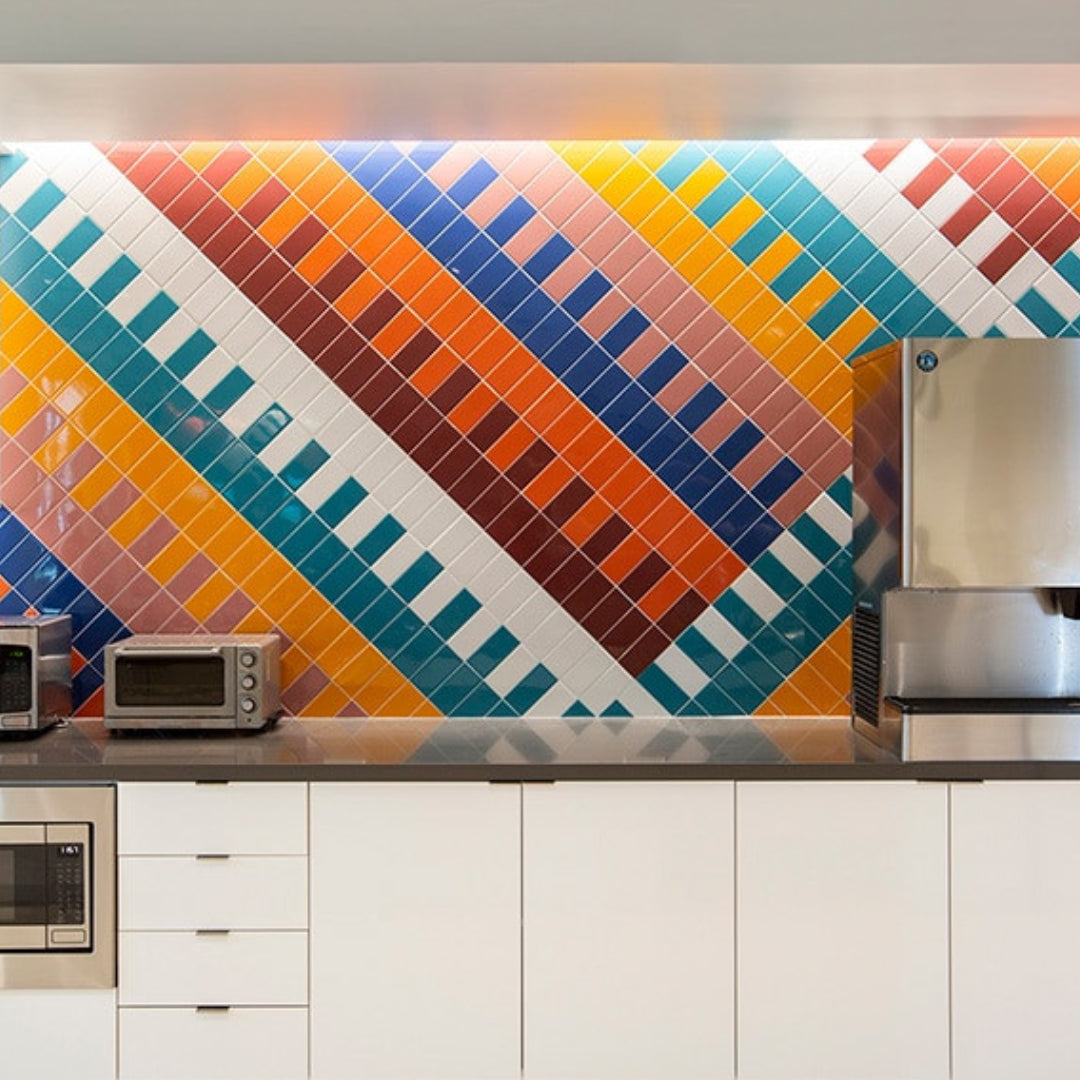
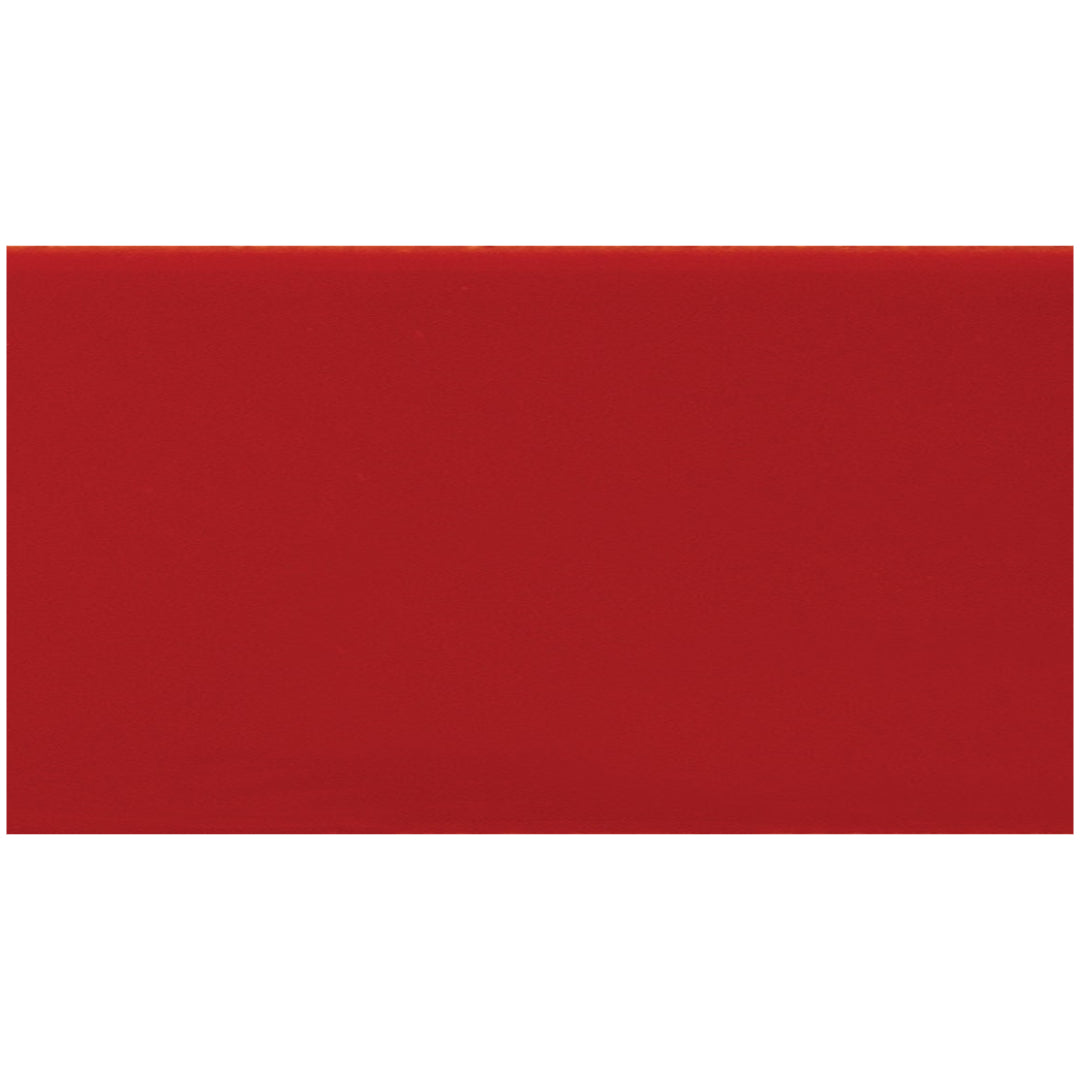
 Daltile Colormatch 2" x 8" Glossy Glazed Ceramic Rectangle Wall Tile
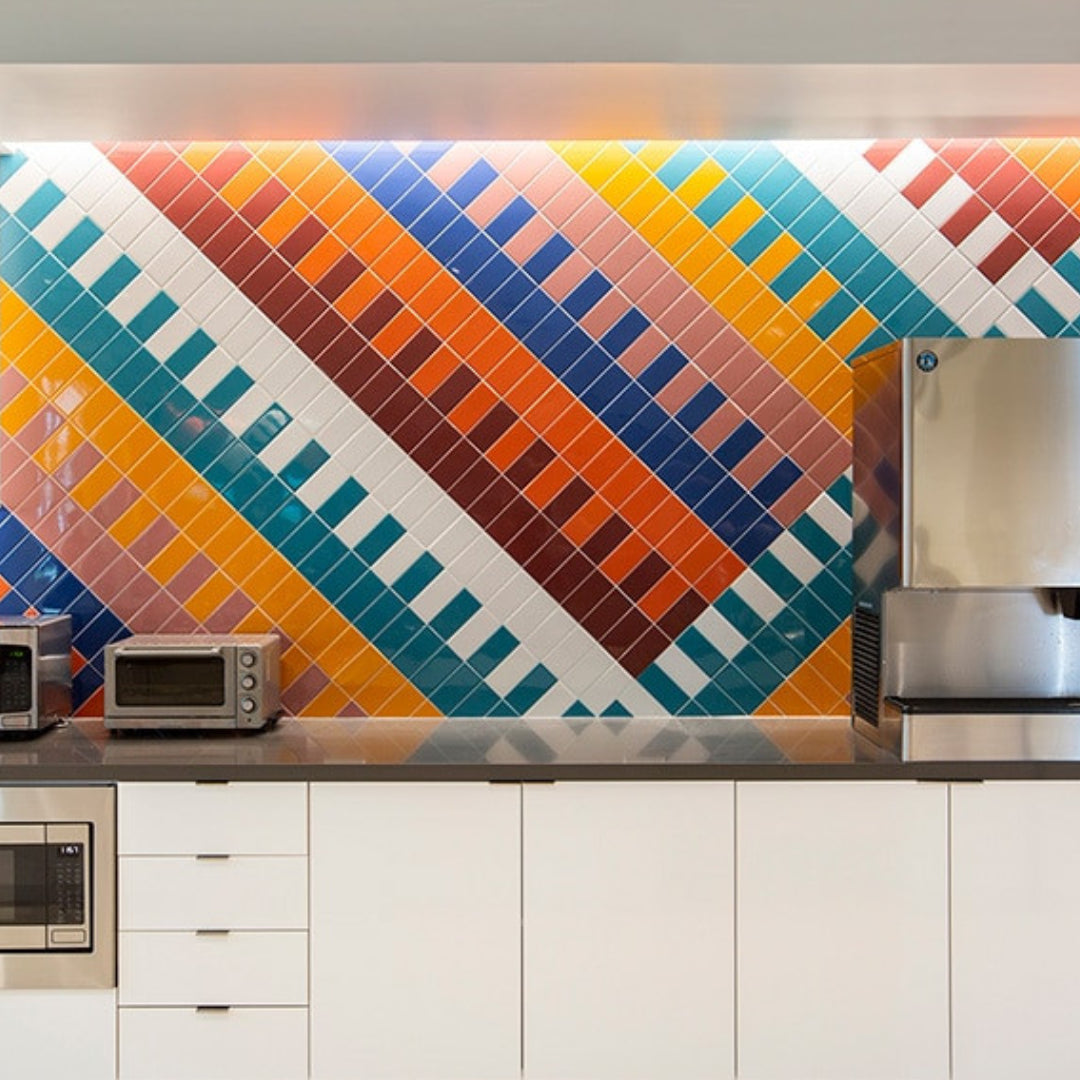
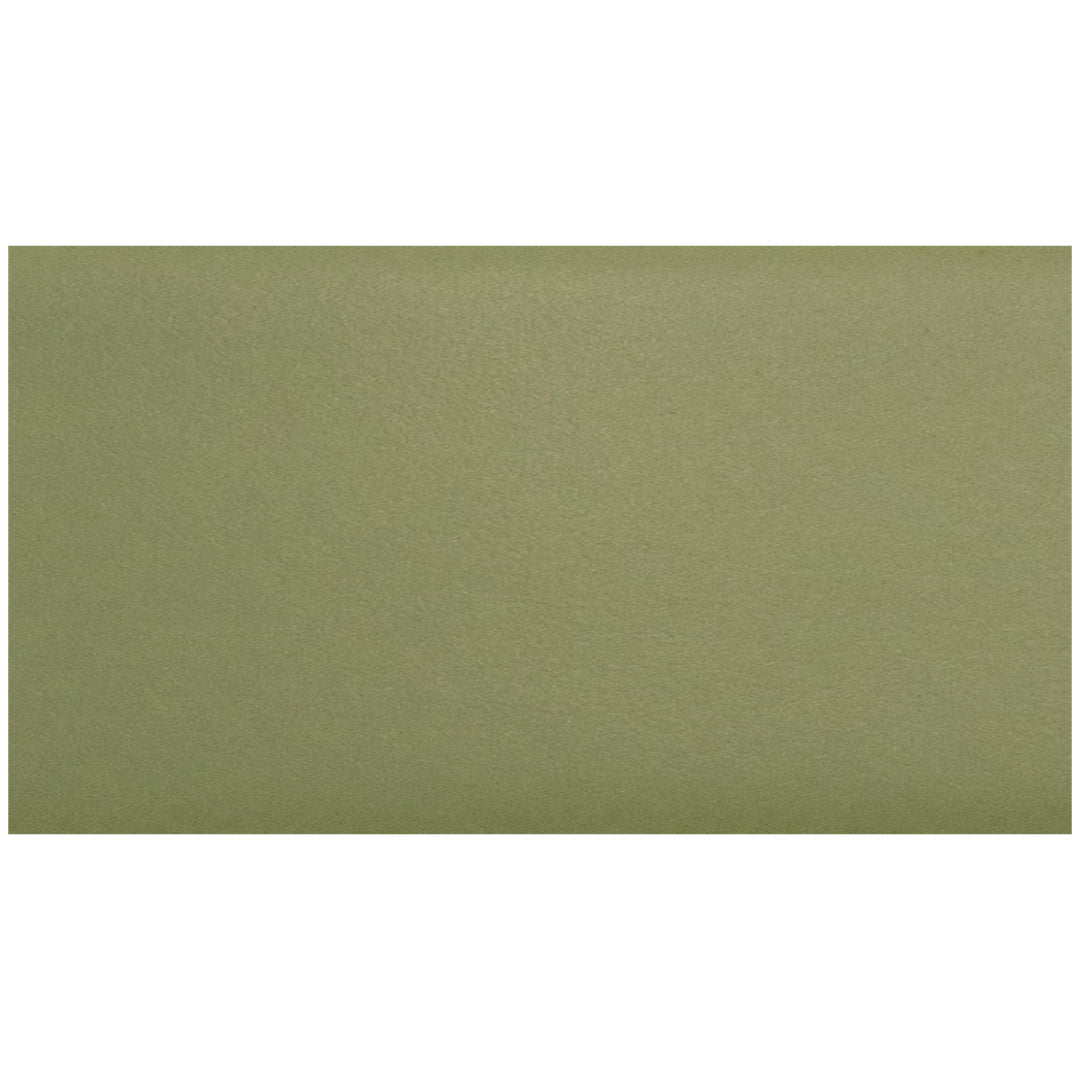
 Daltile Colormatch 12" x 24" Matte Glazed Ceramic Rectangle Wall Tile
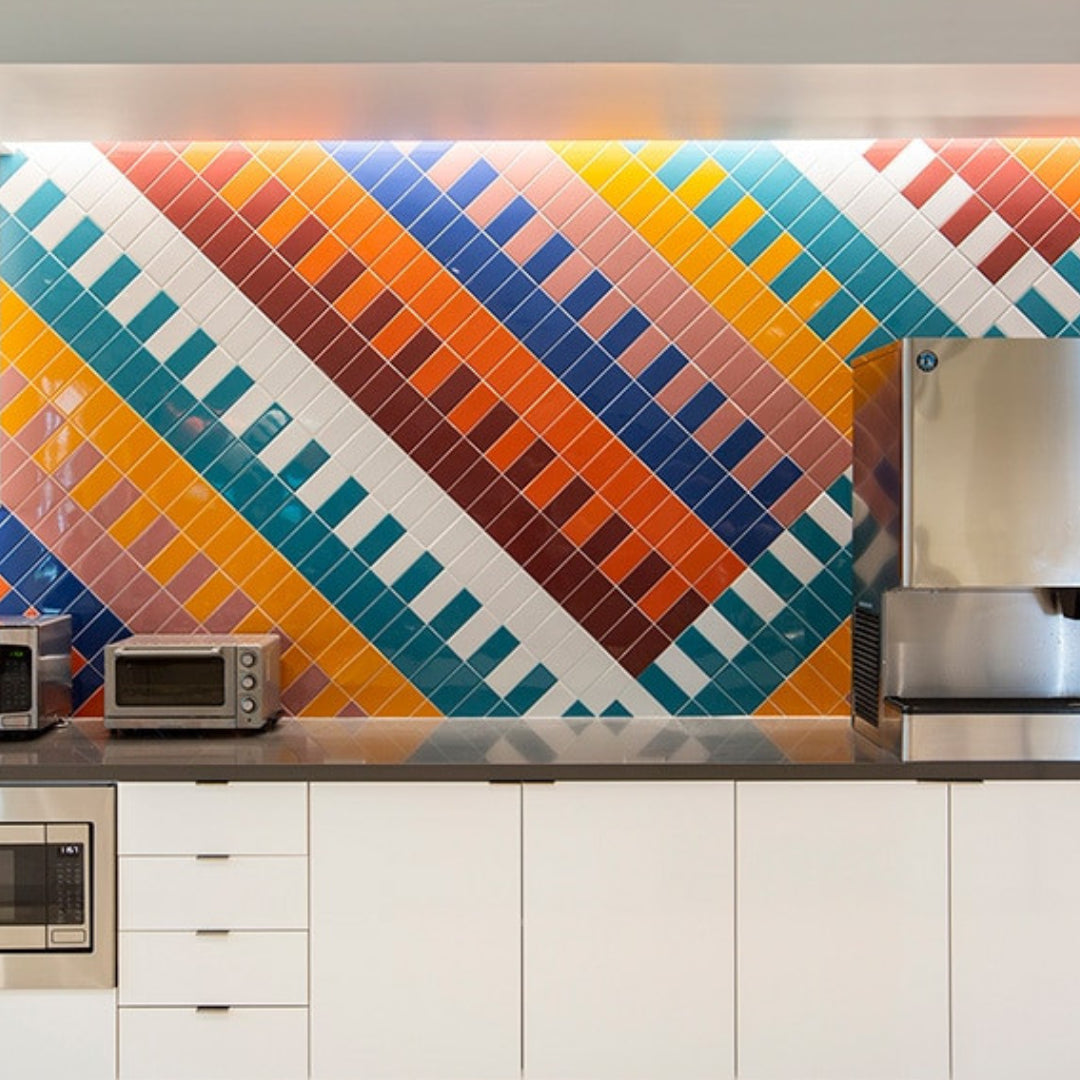
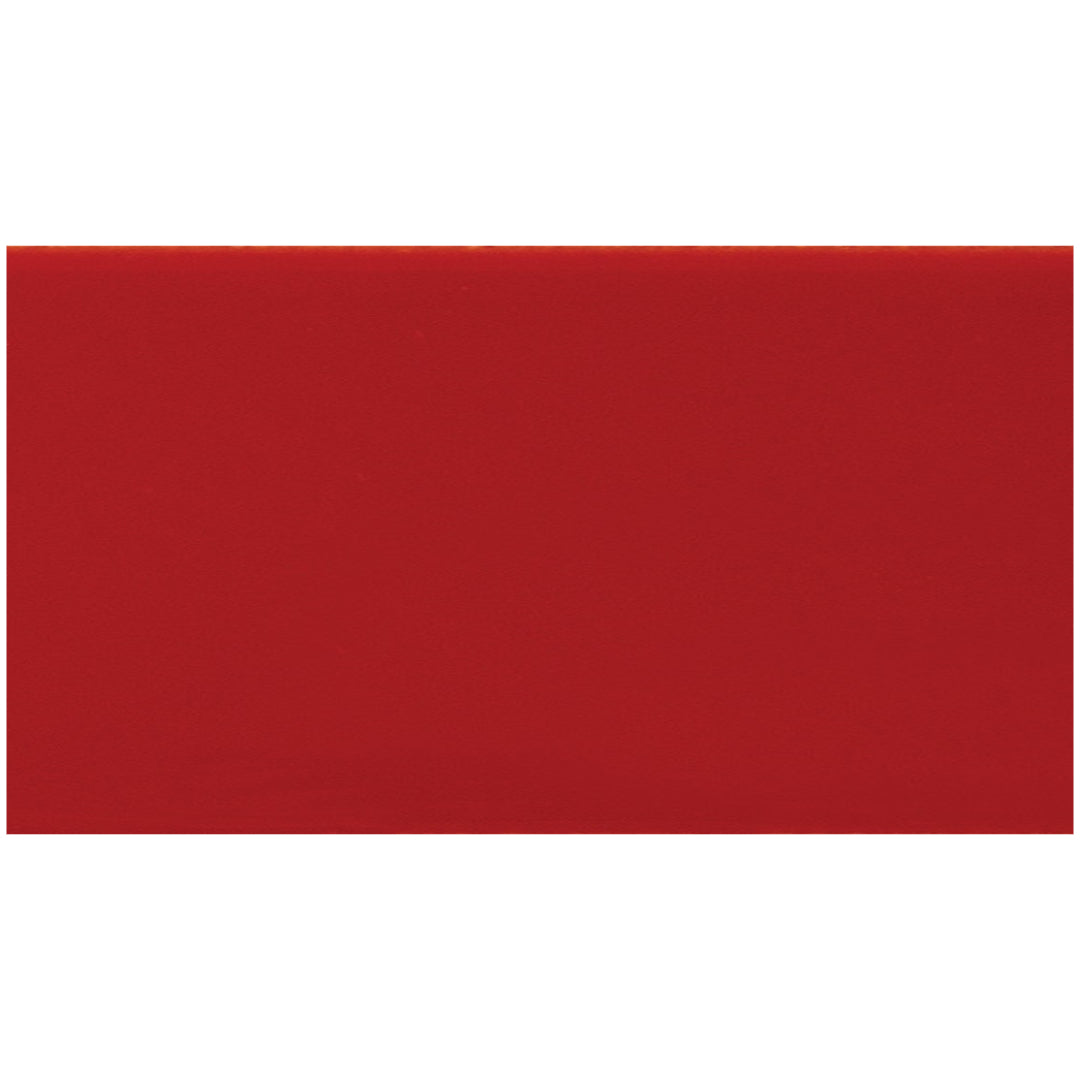
 Daltile Colormatch 12" x 24" Glossy Glazed Ceramic Rectangle Wall Tile
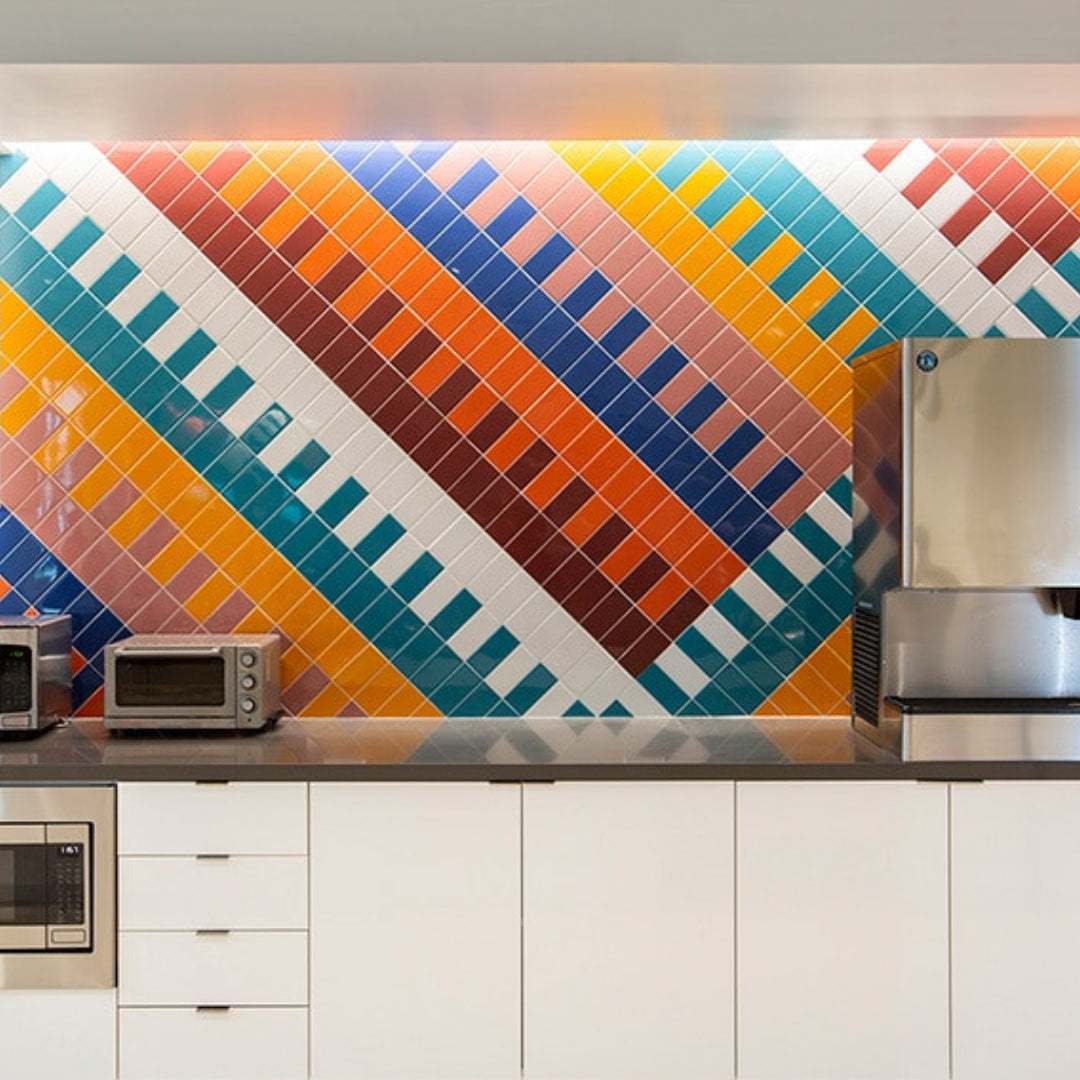
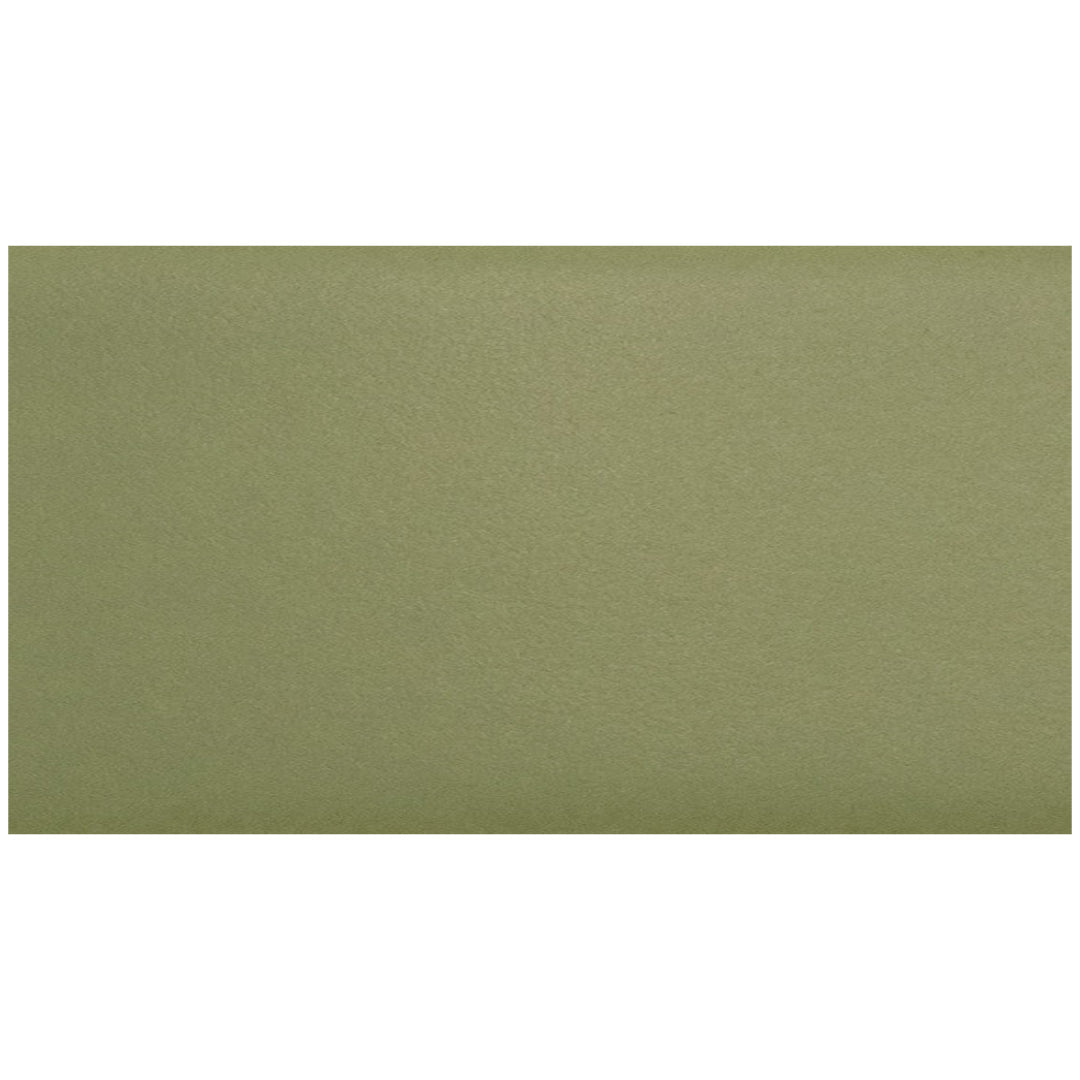
 Daltile Colormatch 10" x 14" Matte Glazed Ceramic Rectangle Wall Tile
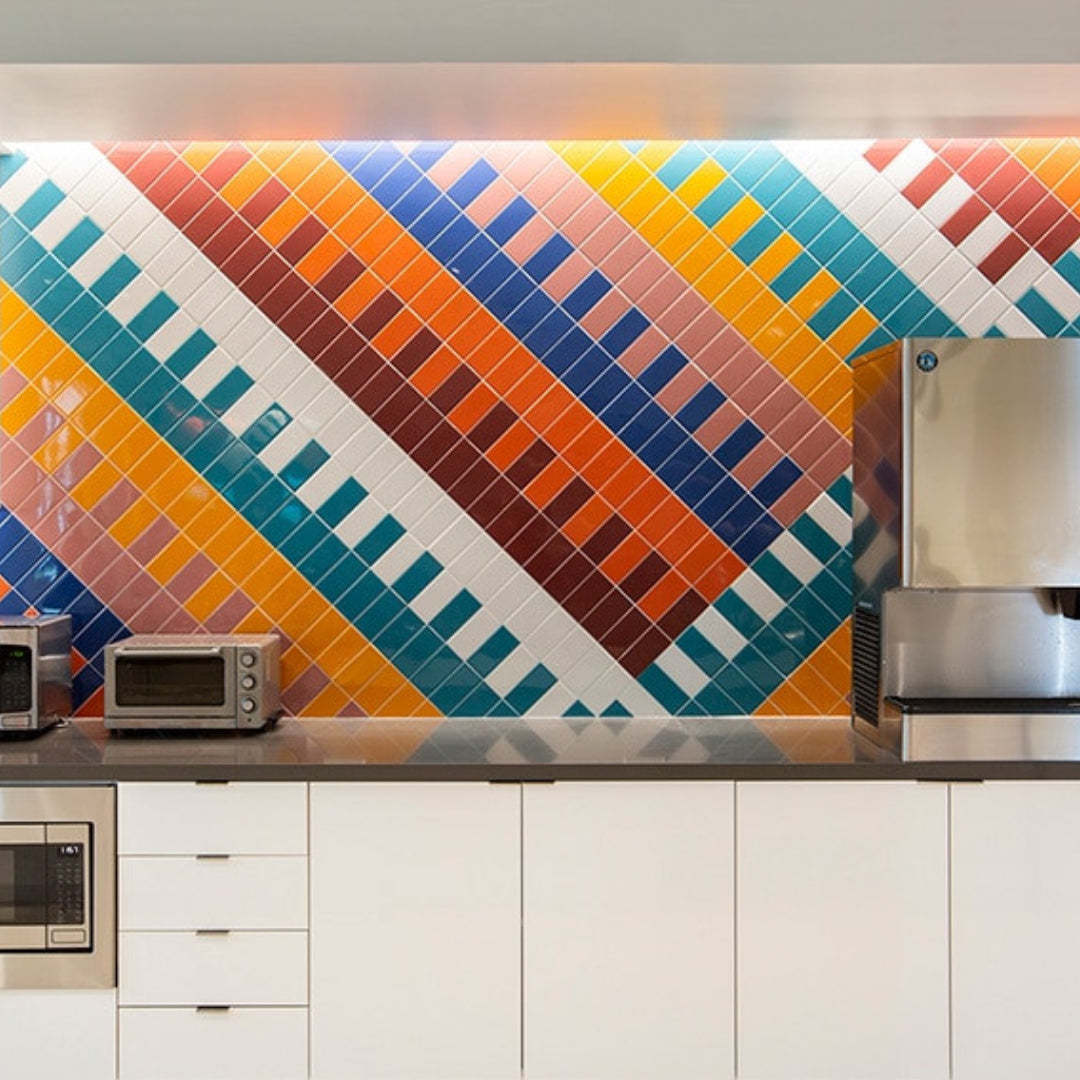
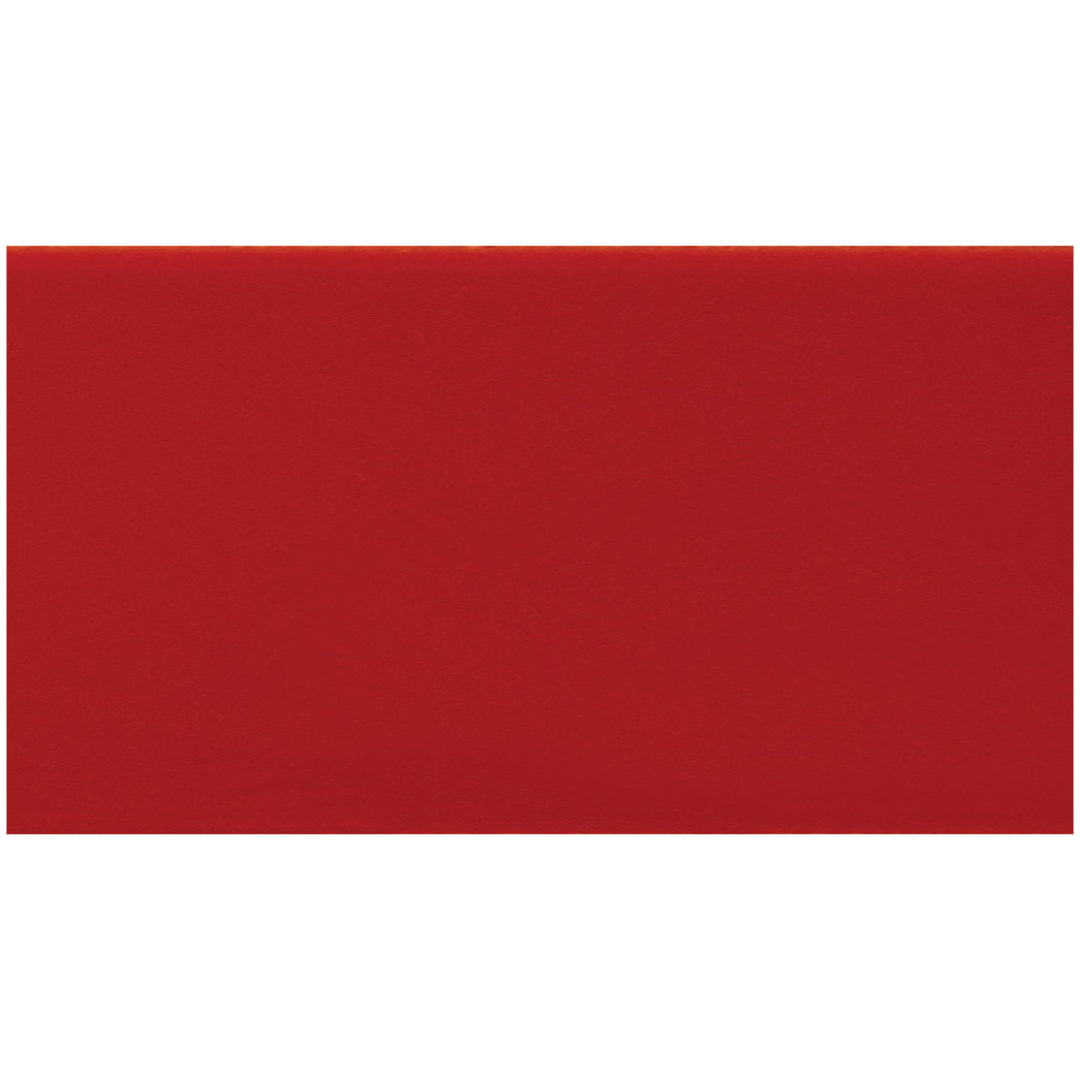
 Daltile Colormatch 10" x 14" Glossy Glazed Ceramic Rectangle Wall Tile
 Daltile Composition 12" x 24" Matte Glazed Ceramic Rectangle Wall Tile
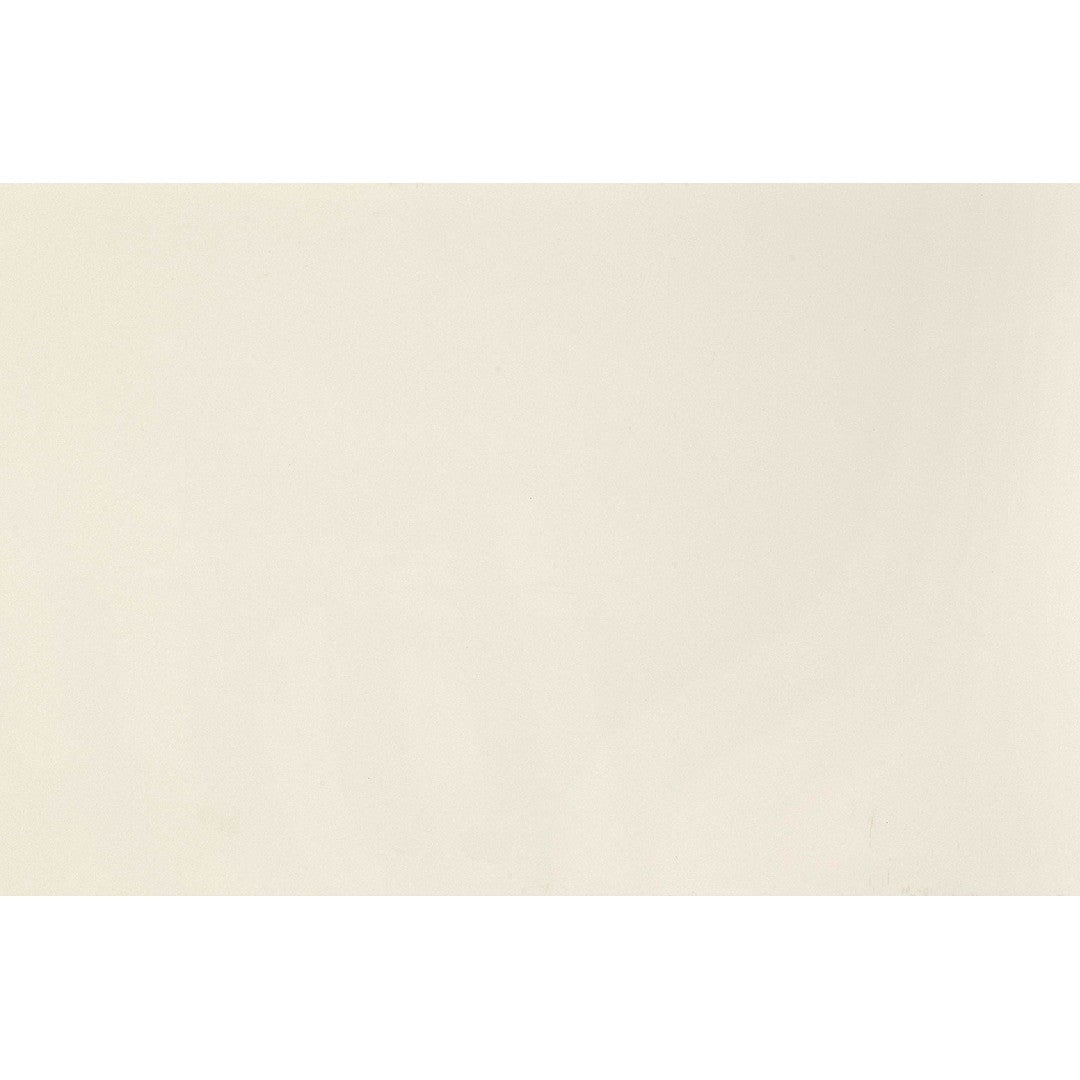
 Daltile Composition 12" x 24" Glossy Glazed Ceramic Rectangle Wall Tile
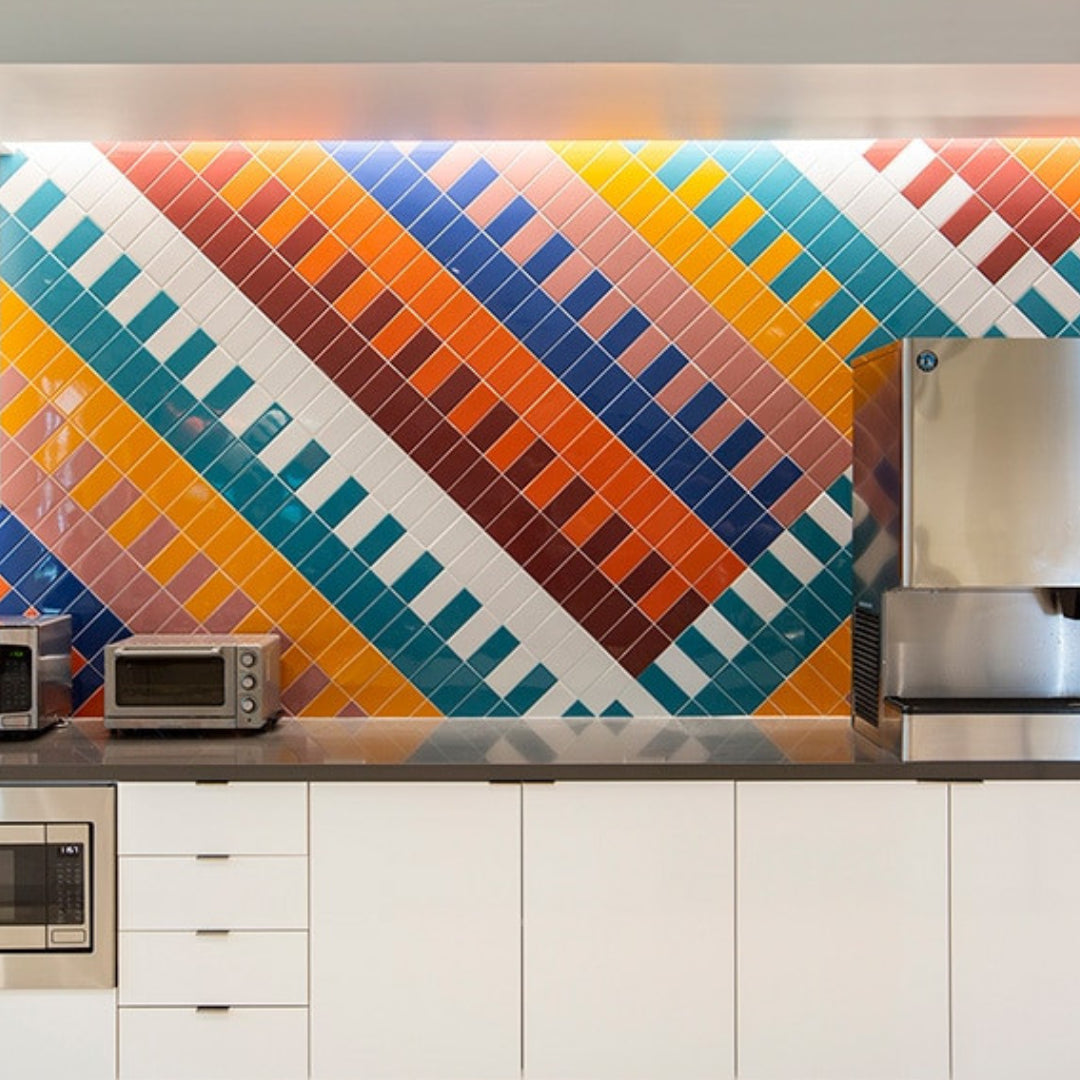
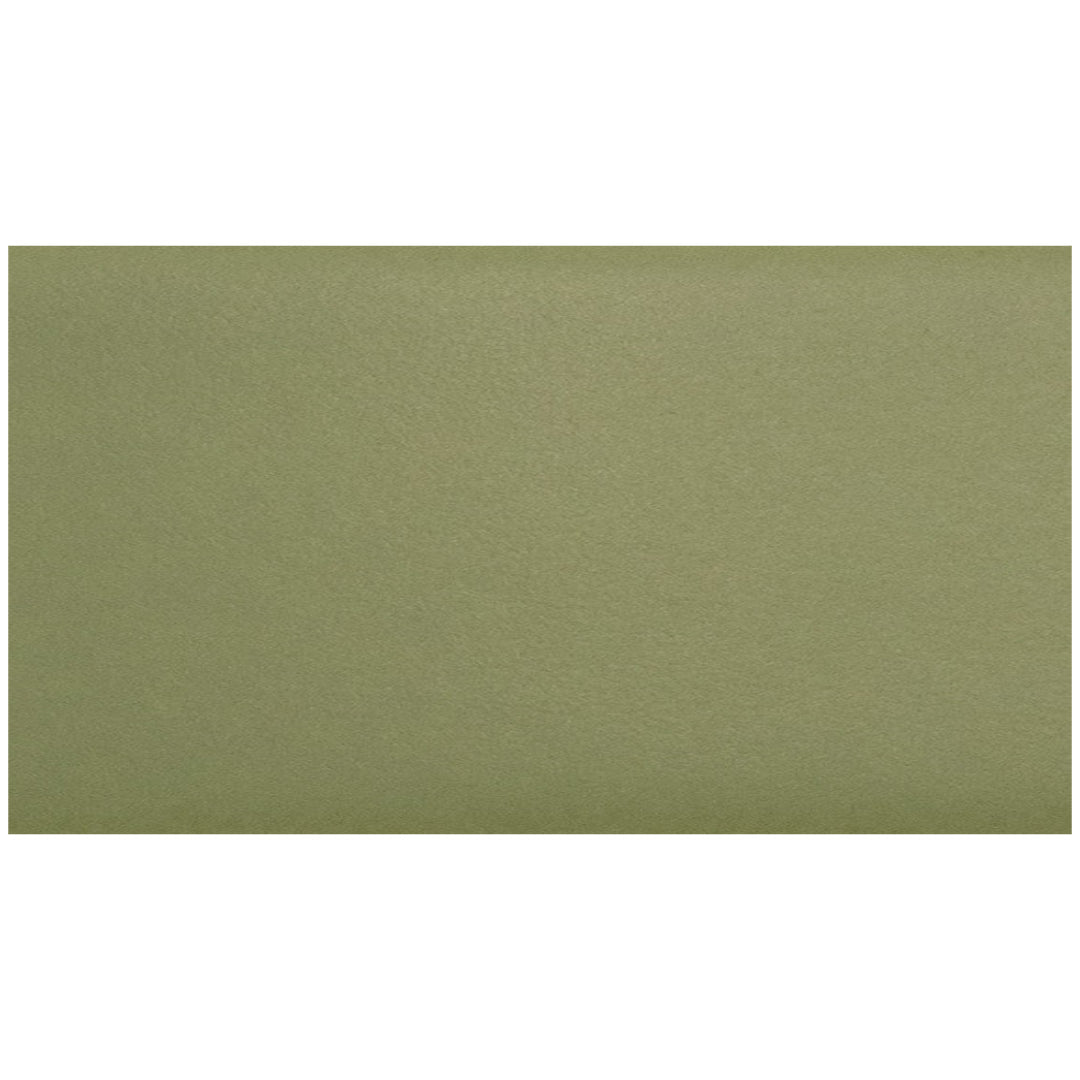
 Daltile Colormatch 8" x 24" Matte Glazed Ceramic Rectangle Wall Tile
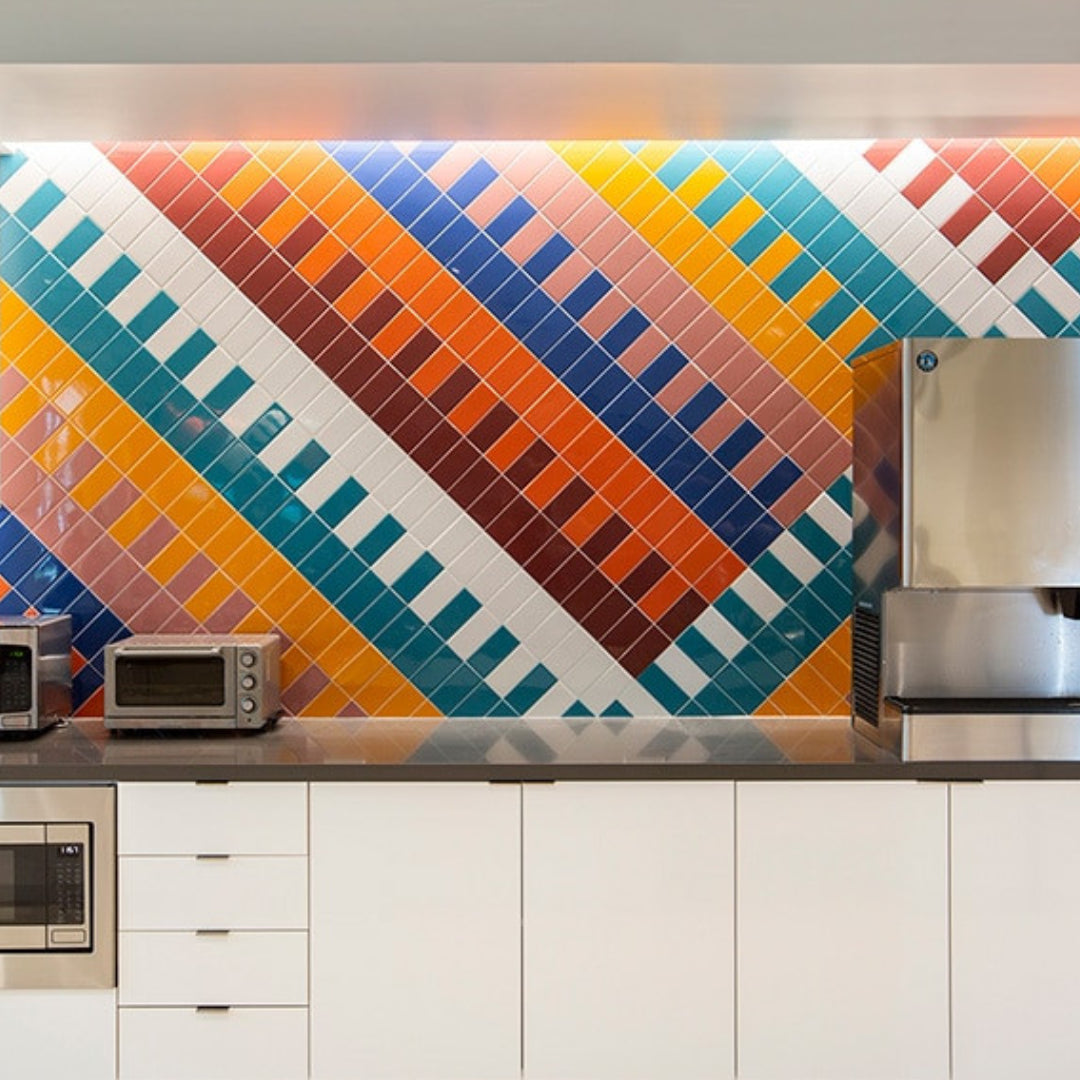
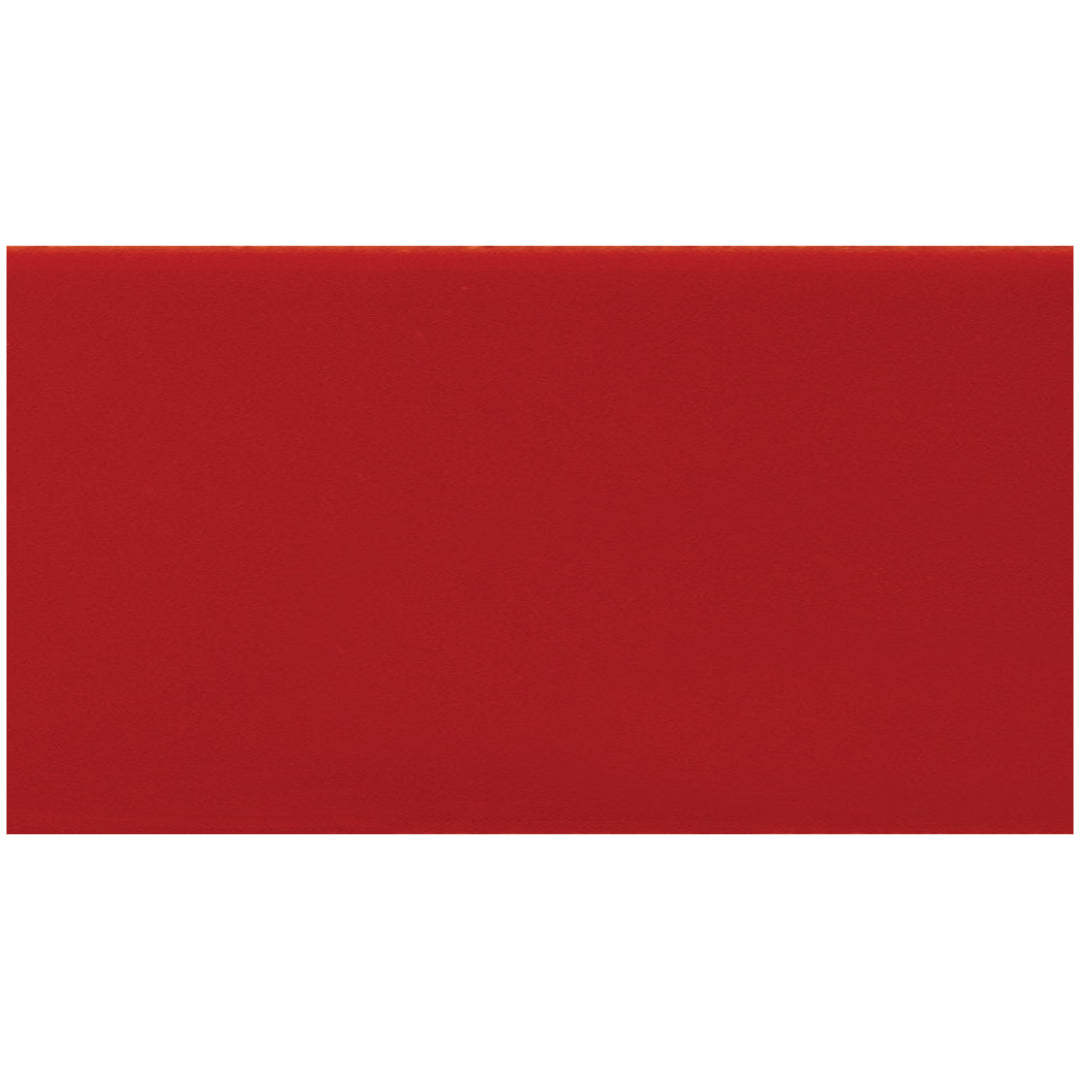
 Daltile Colormatch 8" x 24" Glossy Glazed Ceramic Rectangle Wall Tile
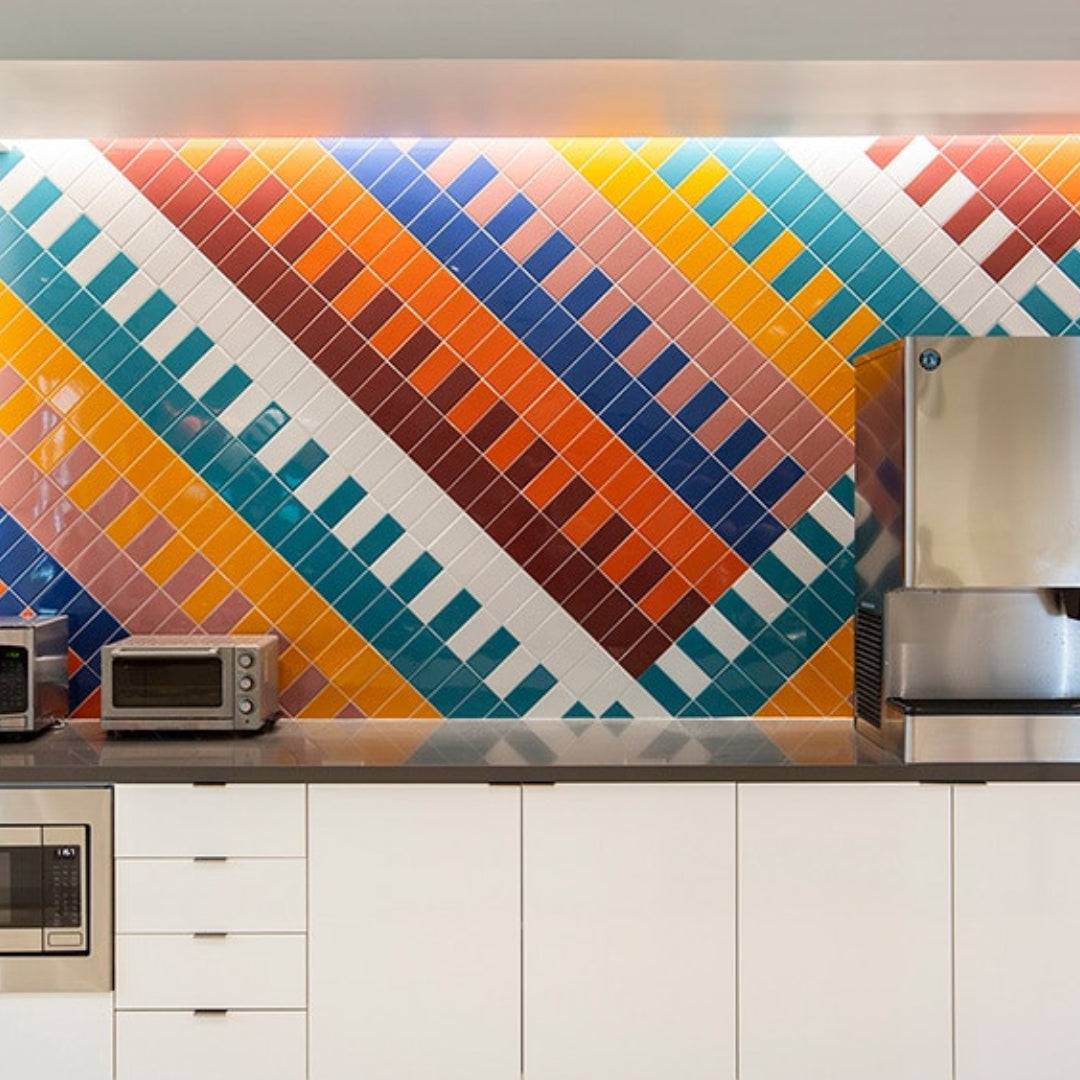
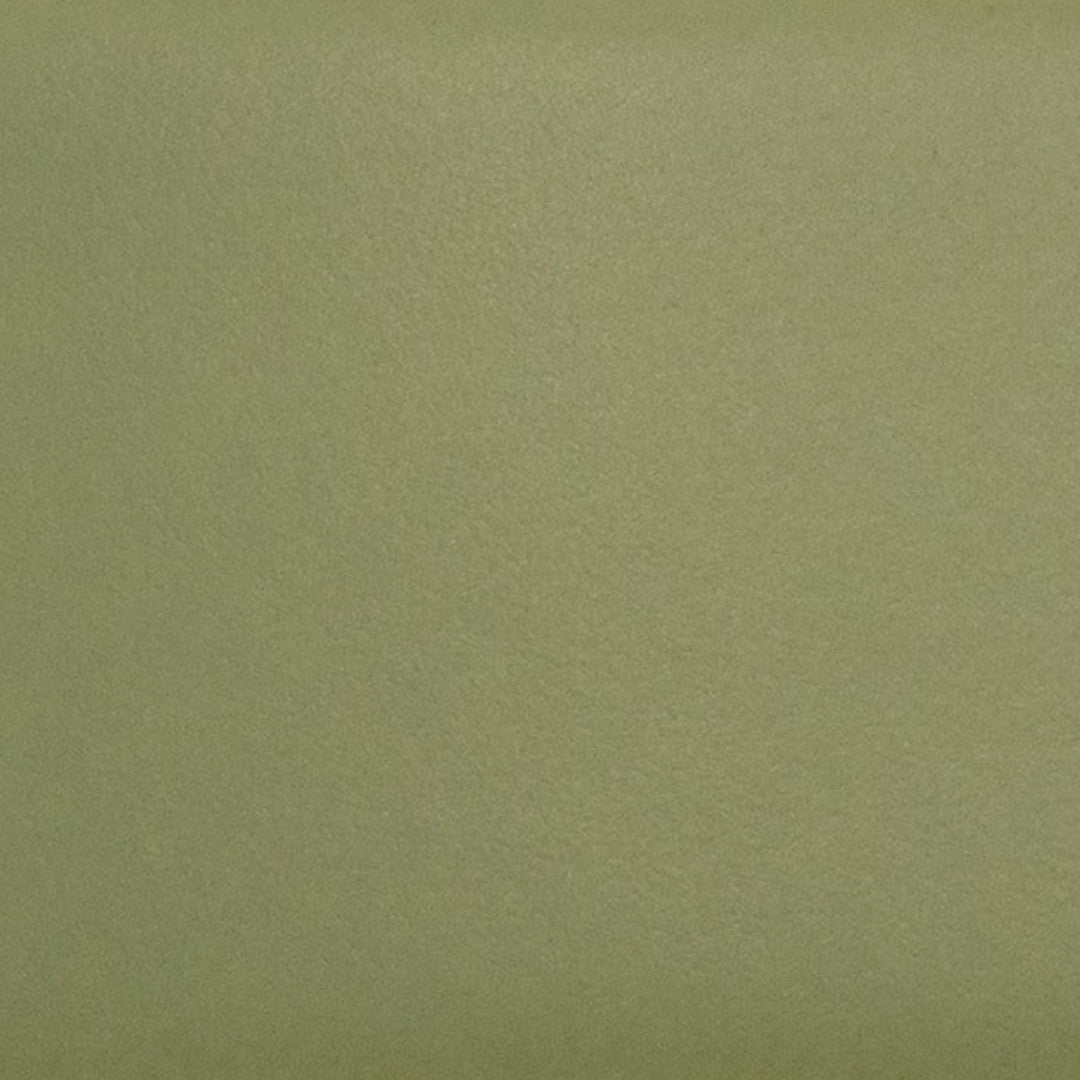
 Daltile Colormatch 6" x 6" Matte Glazed Ceramic Square Wall Tile
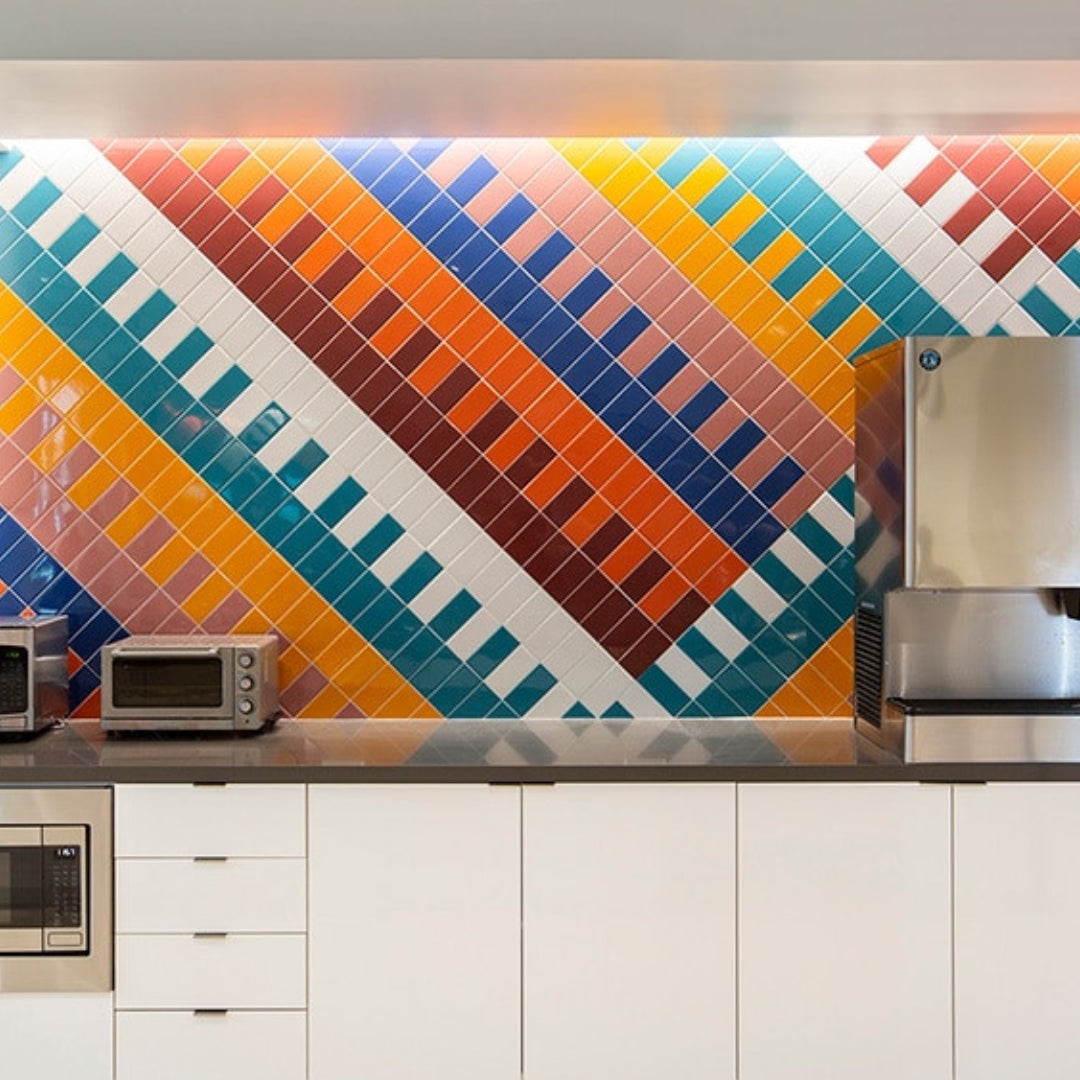

 Daltile Colormatch 6" x 6" Glossy Glazed Ceramic Square Wall Tile
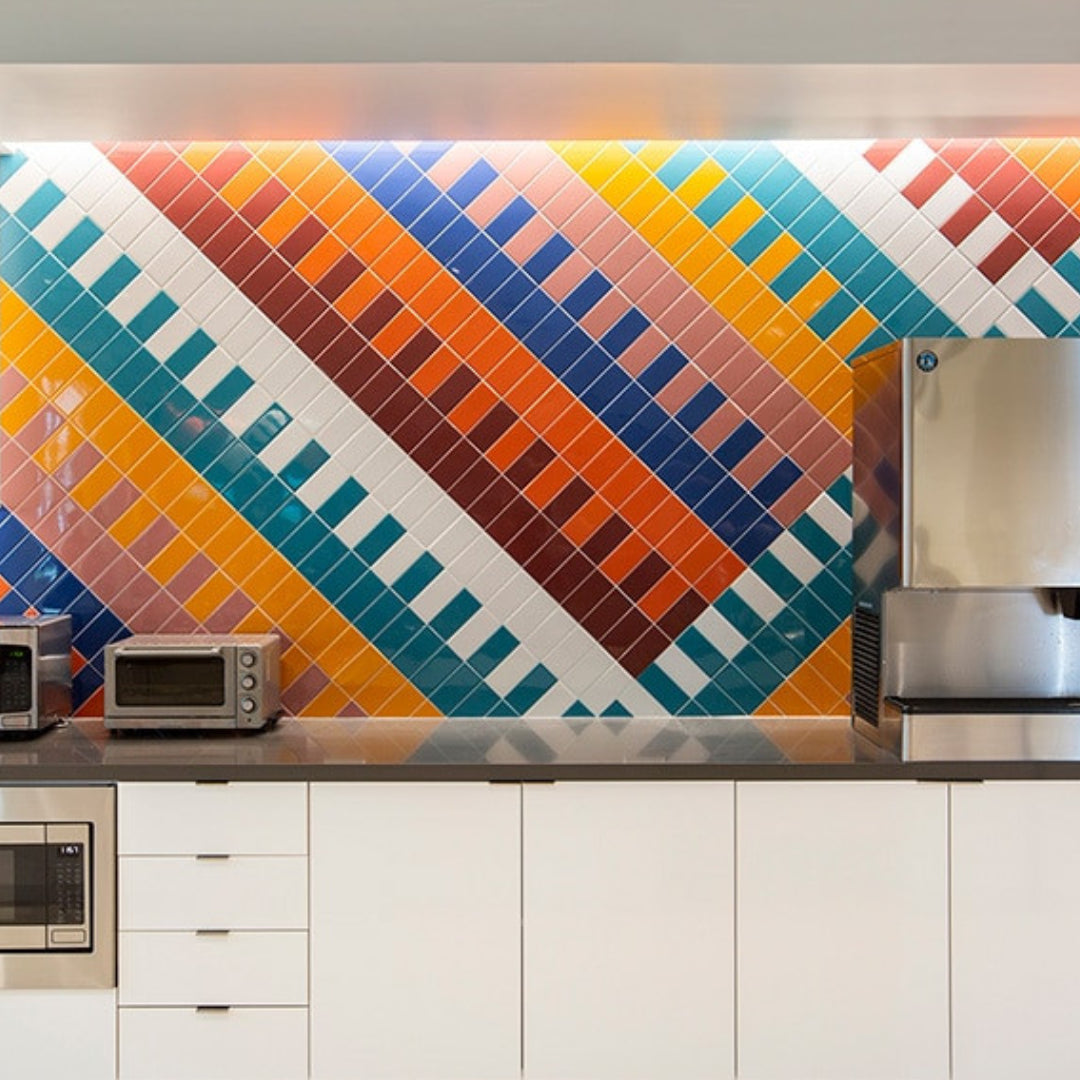
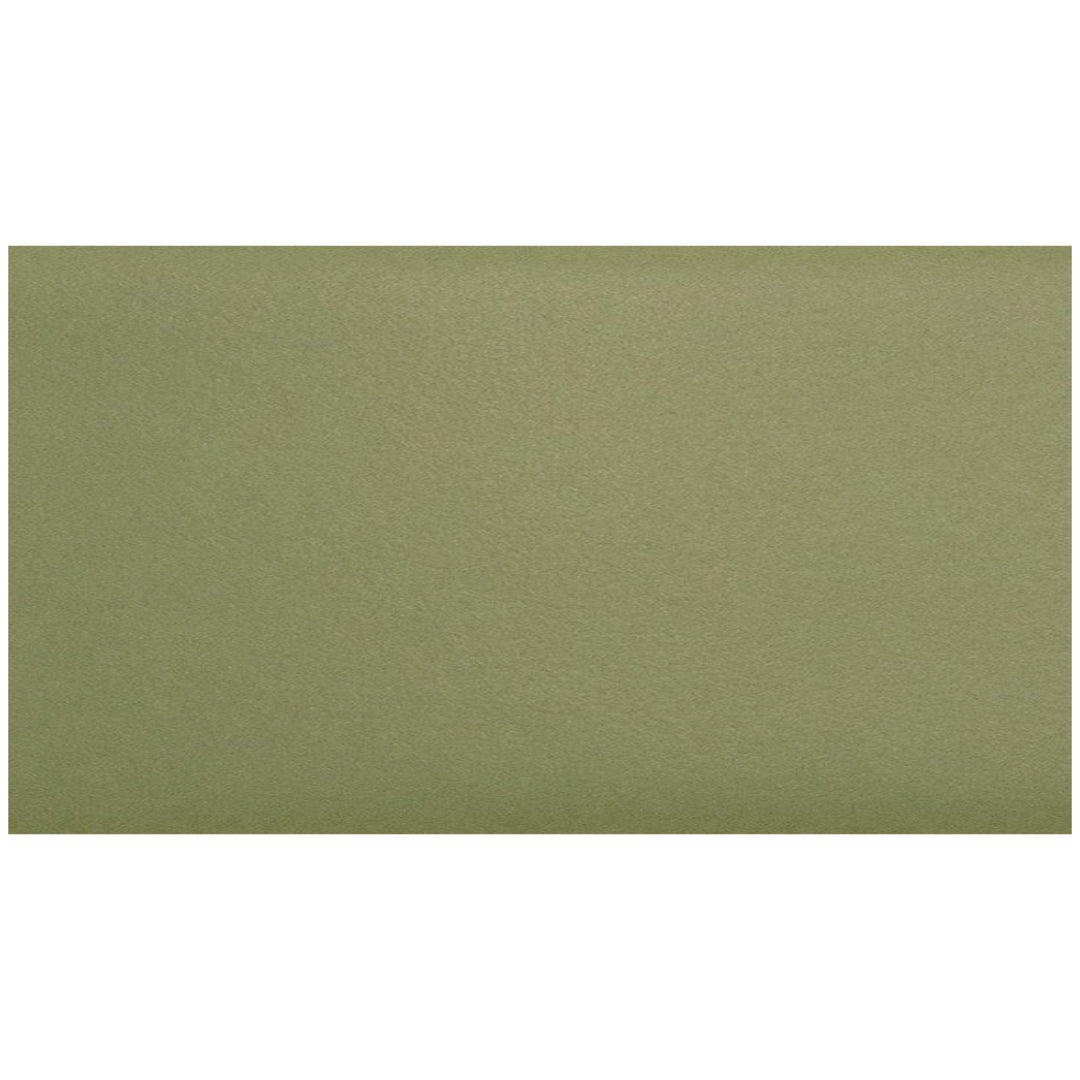
 Daltile Colormatch 6" x 18" Matte Glazed Ceramic Rectangle Wall Tile
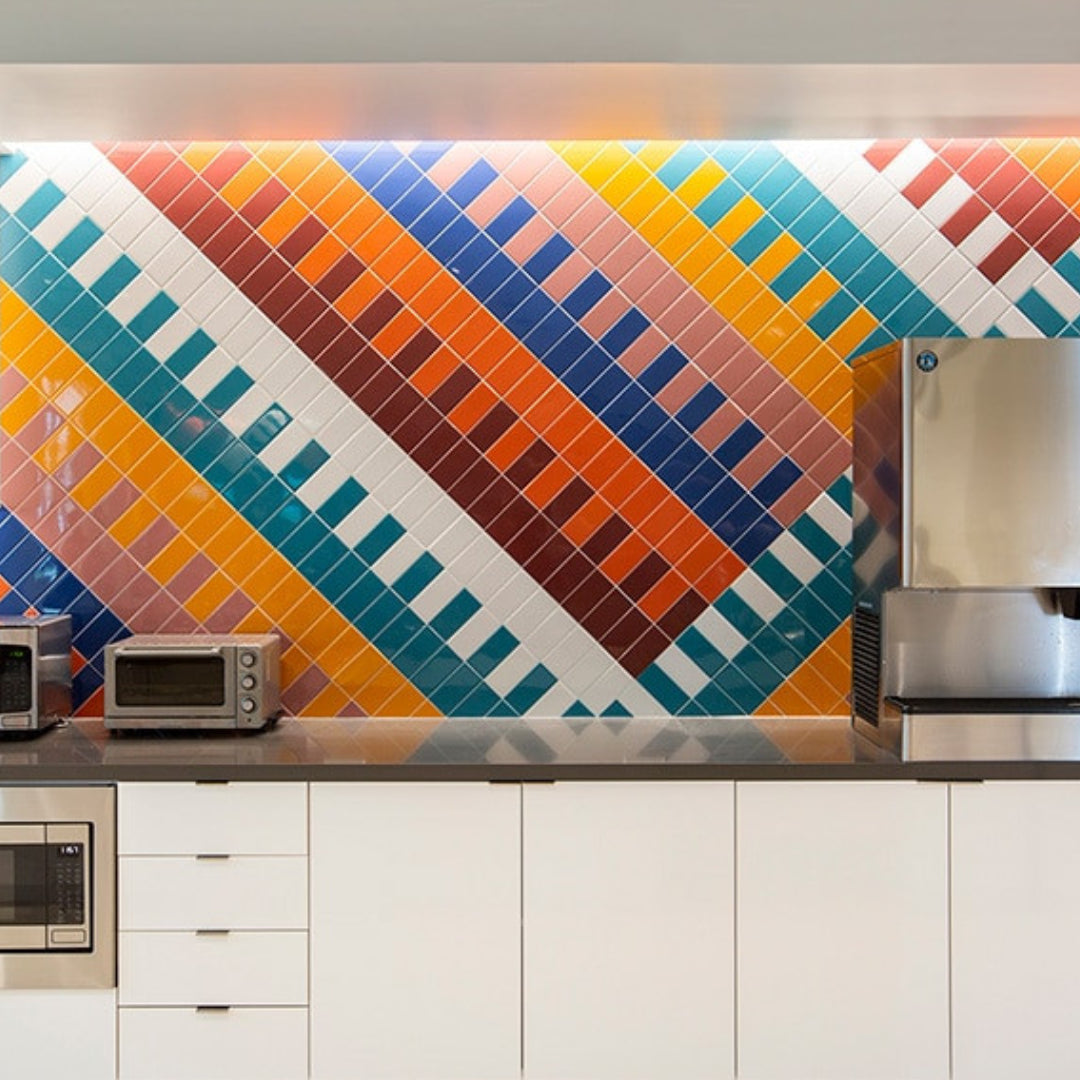
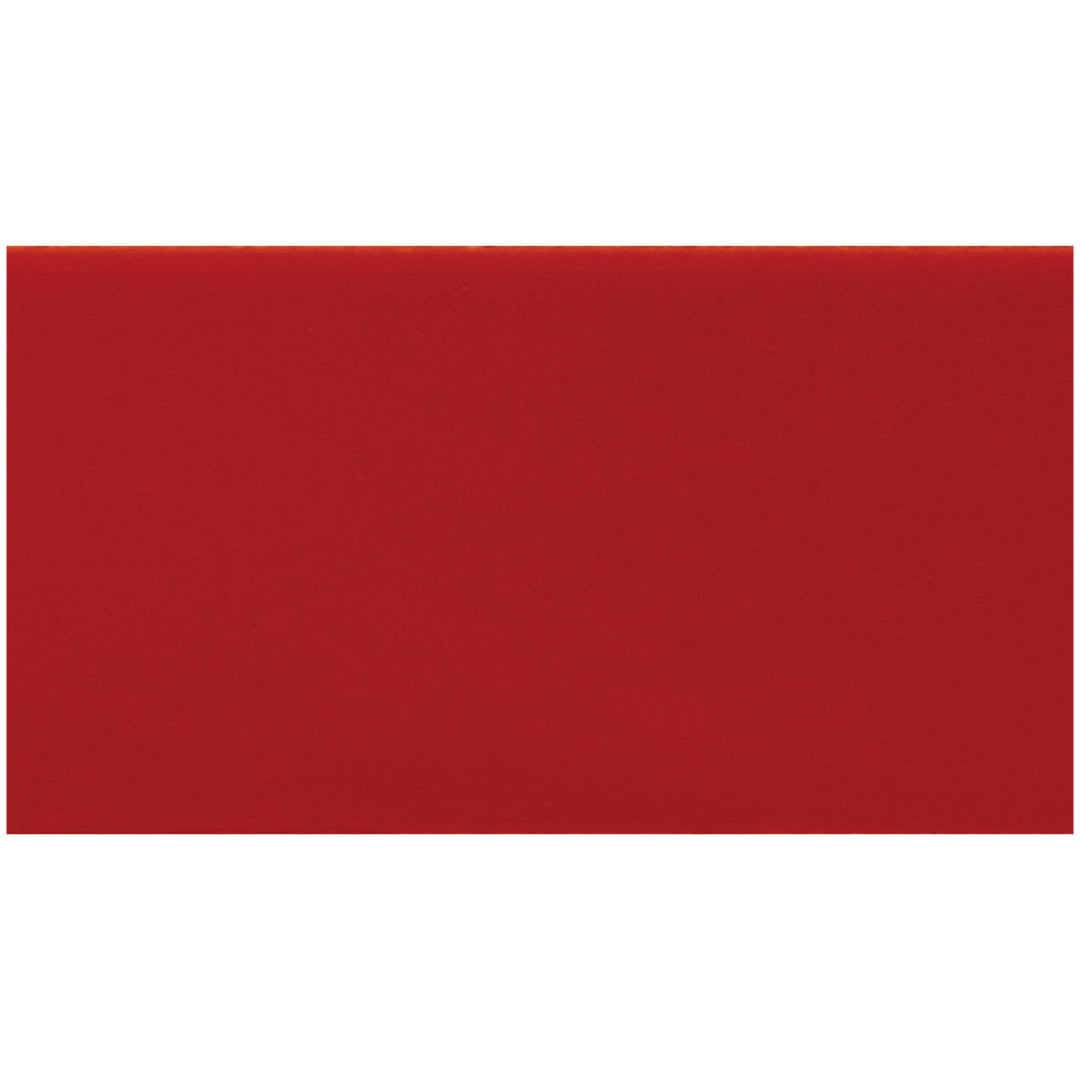
 Daltile Colormatch 6" x 18" Glossy Glazed Ceramic Rectangle Wall Tile
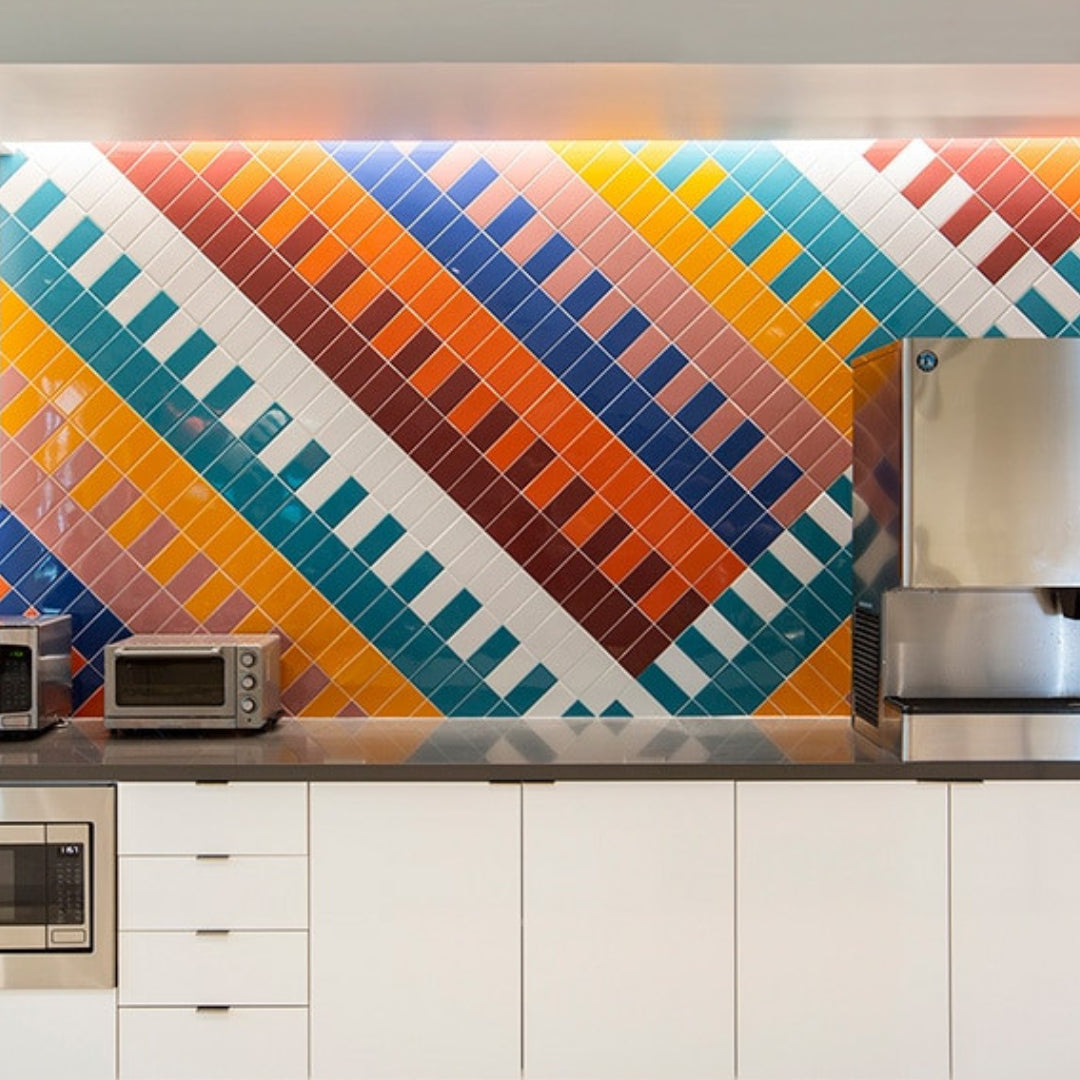
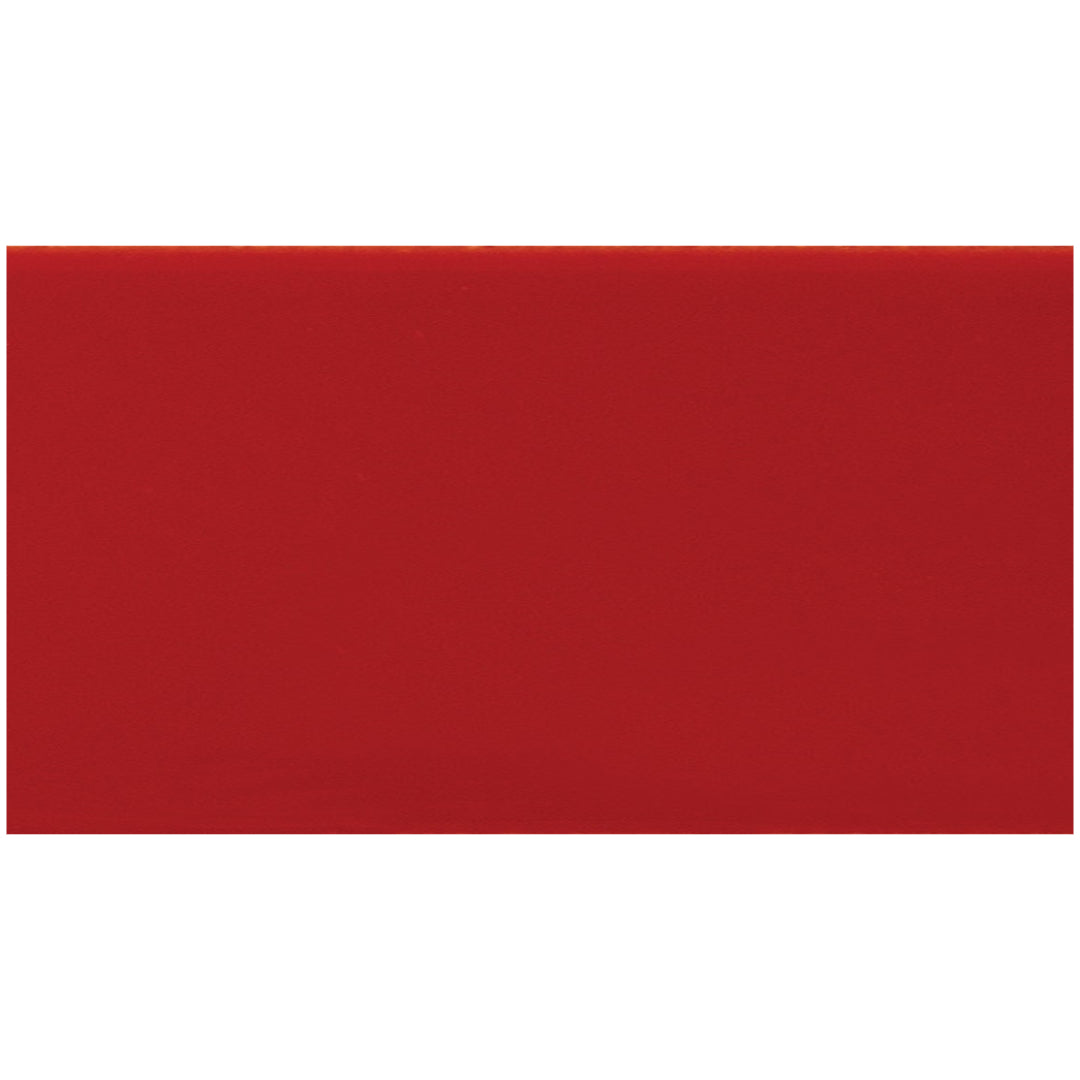
 Daltile Colormatch 4" x 8" Glossy Glazed Ceramic Rectangle Wall Tile
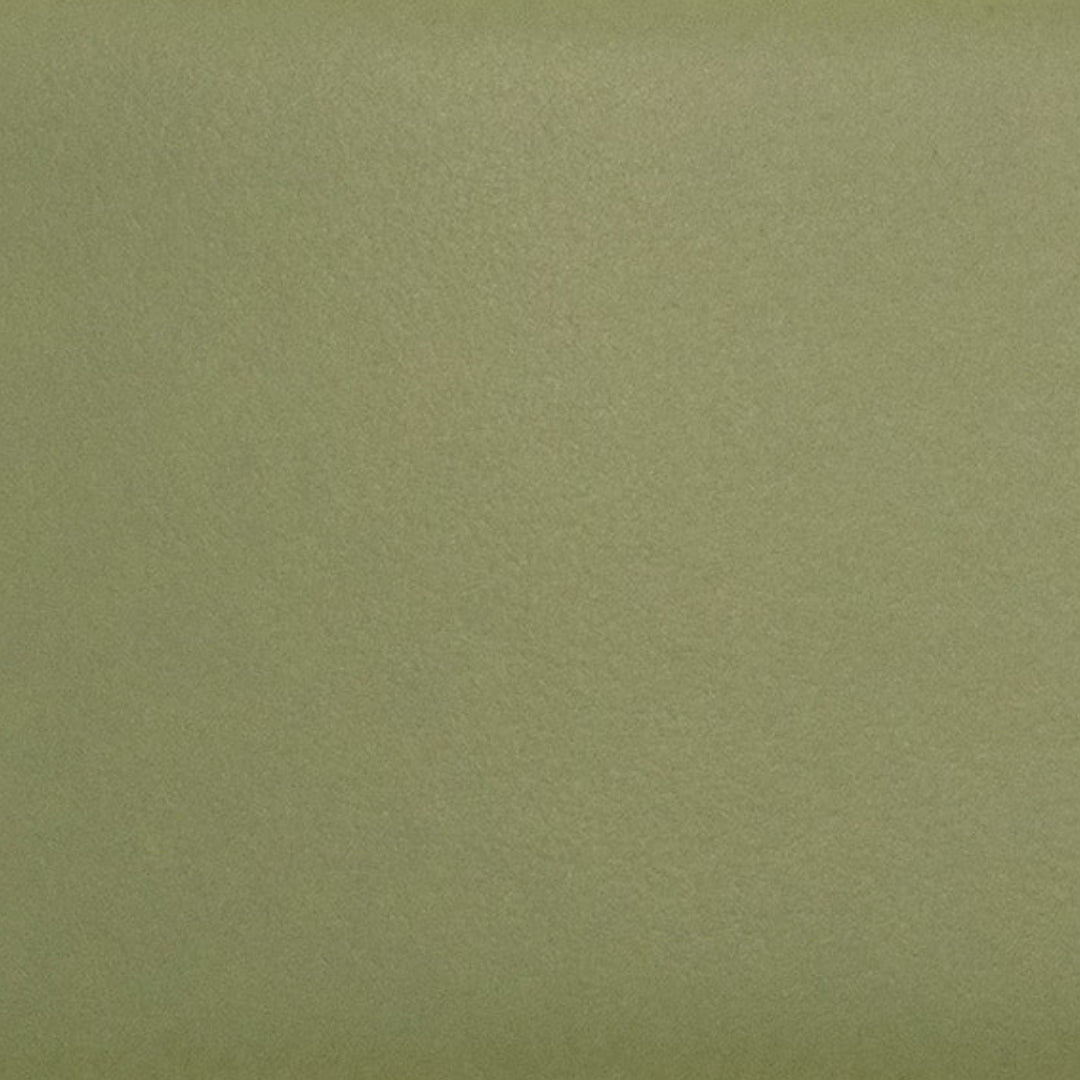

 Daltile Colormatch 4" x 4" Matte Glazed Ceramic Square Wall Tile
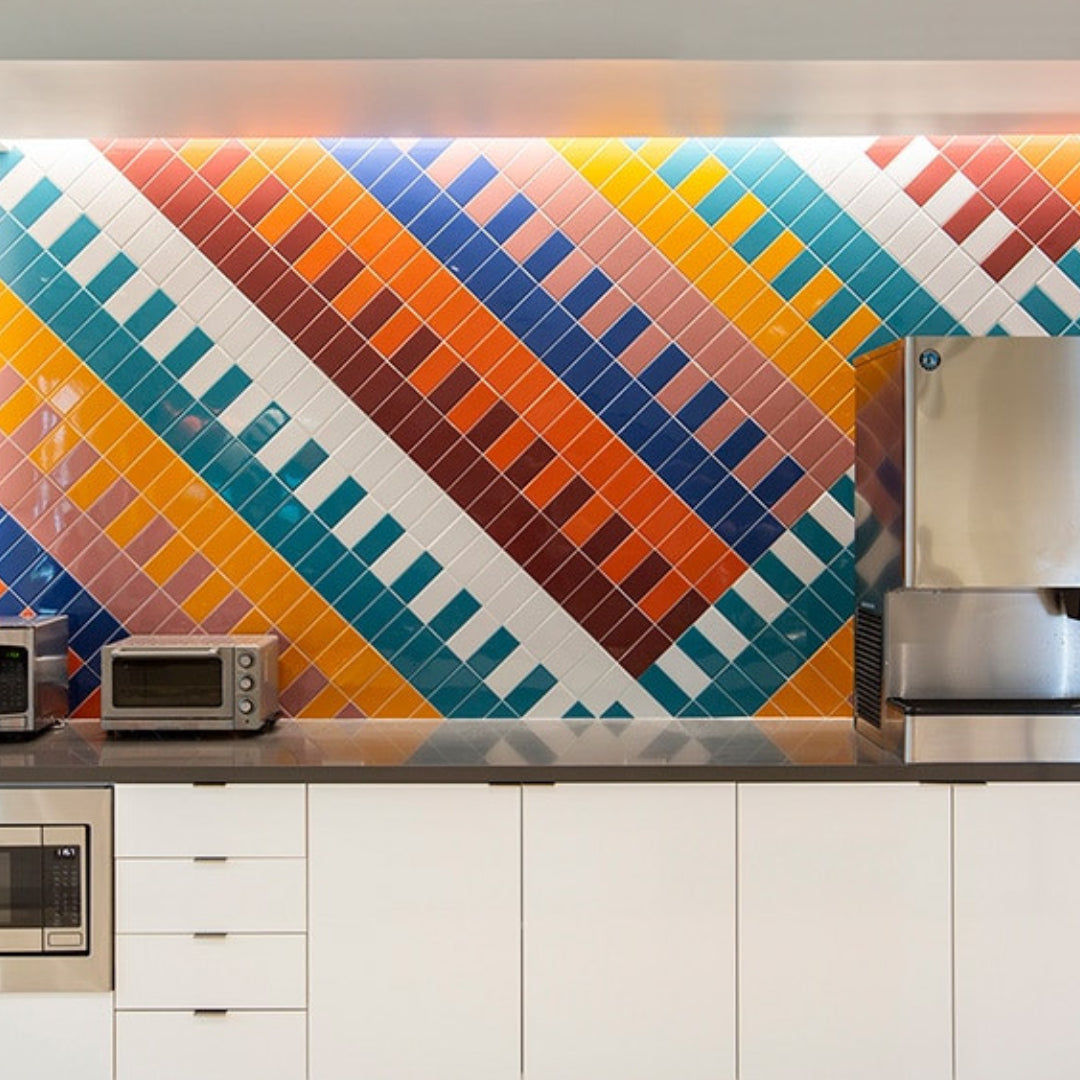

 Daltile Colormatch 4" x 4" Glossy Glazed Ceramic Square Wall Tile
How to Install Ceramic Tiles on a Wall
Installing ceramic tiles on walls, whether in a bathroom, shower area, or as a backsplash, can transform the look of any space. Here’s a step-by-step guide to installing ceramic tiles on a wall.
Materials You’ll Need:
Ceramic tiles
Tile adhesive or thin-set mortar
Grout
Notched trowel
Tile spacers
Level
Tile cutter or wet saw
Sponge
Measuring tape
Pencil or marker
Step 1: Prepare the Wall
Begin by getting the wall ready. Make sure it’s clean, dry, and has no dust or grease. If you're tiling in areas like shower walls or a bathroom wall, confirm that the surface is moisture-resistant or has the right primer. Outline the section you’ll be tiling, whether it's a backsplash or a larger wall area.
Step 2: Plan Your Tile Layout
For a balanced look, plan your tile layout before adding adhesive. Measure the wall and decide where each tile will go. Draw a horizontal and vertical line in the center of the wall to guide you. This is especially helpful in bathrooms, where symmetry is usually important, like on shower walls.
Step 3: Apply the Adhesive
With a notched trowel, spread tile adhesive or thin-set mortar evenly over a small area of the wall. Hold the trowel at a 45-degree angle and make straight lines in the adhesive to form ridges. These ridges help the tiles stick firmly to the wall.
Step 4: Set the Tiles
Start placing the tiles along the marked lines, beginning at the bottom center and moving outward. Press each tile firmly into the adhesive. Put spacers between tiles to keep the grout lines even. For a backsplash or bathroom wall, check that the tiles stay level by using a level tool as you work.
Step 5: Cut Tiles to Fit
When you get to the edges or areas around fixtures, you’ll need to cut tiles to fit. Measure the size needed, then use a tile cutter or wet saw to make accurate cuts. Be especially careful when cutting around outlets or tight corners on bathroom or shower walls to ensure a good fit.
Step 6: Allow the Adhesive to Set
After placing all the tiles, let the adhesive dry for the recommended time, usually about 24 hours. This step is crucial for shower walls, as it helps the tiles stick firmly and resist moisture.
Step 7: Apply Grout
Once the adhesive has dried, take out the tile spacers and start applying grout. Use a grout float to press the grout into the spaces between tiles. Wipe off any extra grout with a damp sponge, rinsing it often to keep the tiles clean. For bathroom and shower walls, it’s best to use waterproof grout to help prevent mold or mildew.
Step 8: Clean and Finish
When the grout has started to dry, gently wipe away any grout haze from the tiles with a soft, damp sponge, rinsing the sponge often. Once the grout is completely dry, use a dry cloth to polish the tiles and reveal their finish.
Final Tips
For bathroom installations, especially on shower walls, you might want to use a grout sealer to keep moisture out. This step isn’t necessary for regular walls or backsplashes but is helpful in damp areas. By following these steps, you’ll have a clean and well-done ceramic tile setup. With careful planning and the right technique, tiling any wall—whether it’s a bathroom, shower, or kitchen backsplash—can be done with a great finish.

