

Phenix Carpets
101 products
Showing 49 - 72 of 101 products

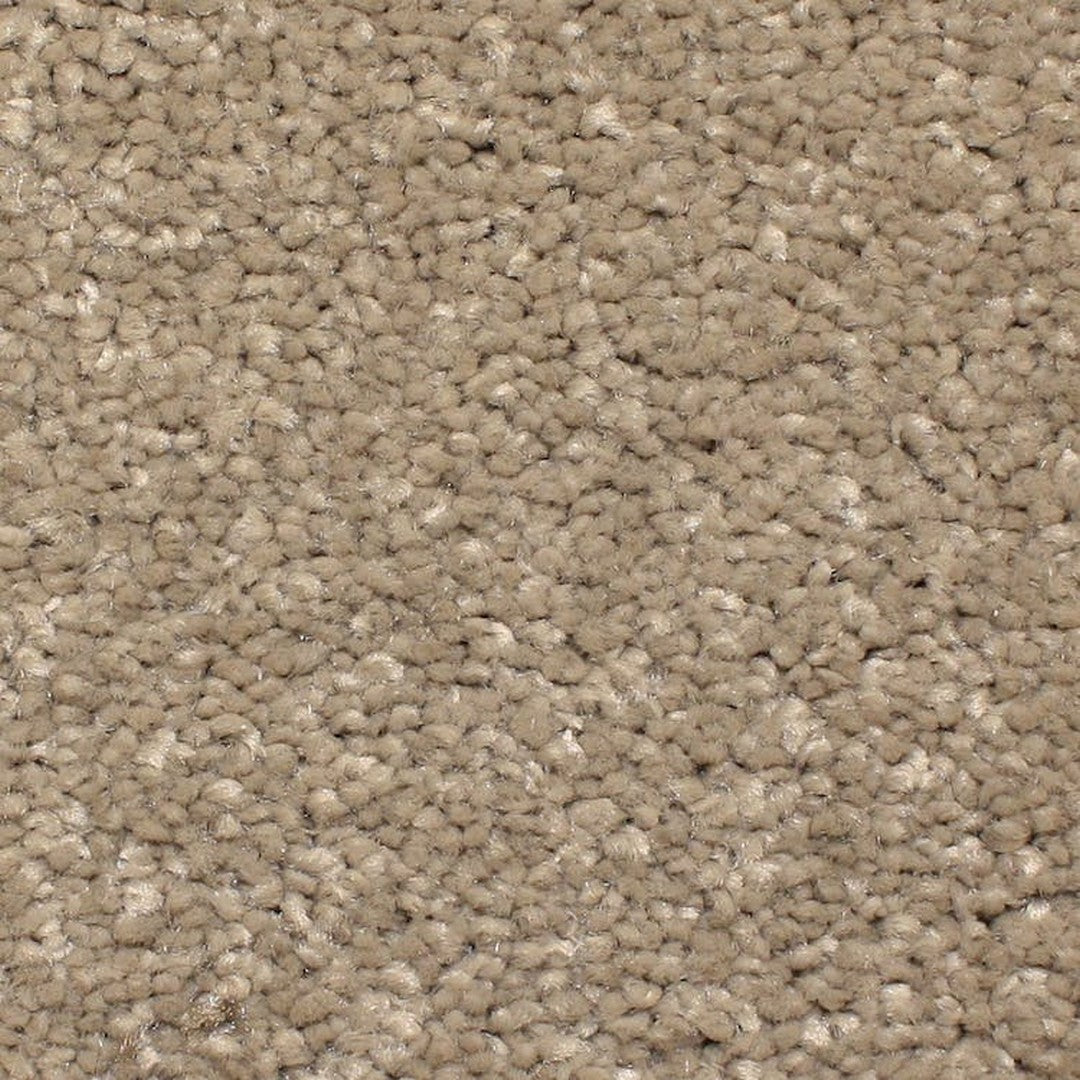
 Phenix Microban Panache 12' Polyester Carpet Tile


 Phenix Floor Ever Pet Plus 12' Palermo Carpet Tile

 Phenix Floor Ever Pet Plus 12' Naples Carpet Tile

 Phenix Floor Ever Pet Plus 12' Mykonos Carpet Tile


 Phenix Microban Mirage III 12' Polyester Carpet Tile

 Phenix Microban Heavenly 12' Polyester Carpet Tile


 Phenix Microban Grand Champion 12' Polyester Carpet Tile


 Phenix Microban Goals 12' Polyester Carpet Tile


 Phenix Microban Front Runner 12' Polyester Carpet Tile


 Phenix Microban Foundation II 12' Polyester Carpet Tile


 Phenix Microban Foundation I 12' Polyester Carpet Tile


 Phenix Microban Five Star 12' Polyester Carpet Tile

 Phenix Microban First Light 12' Polyester Carpet Tile


 Phenix Microban Ethereal 12' Polyester Carpet Tile
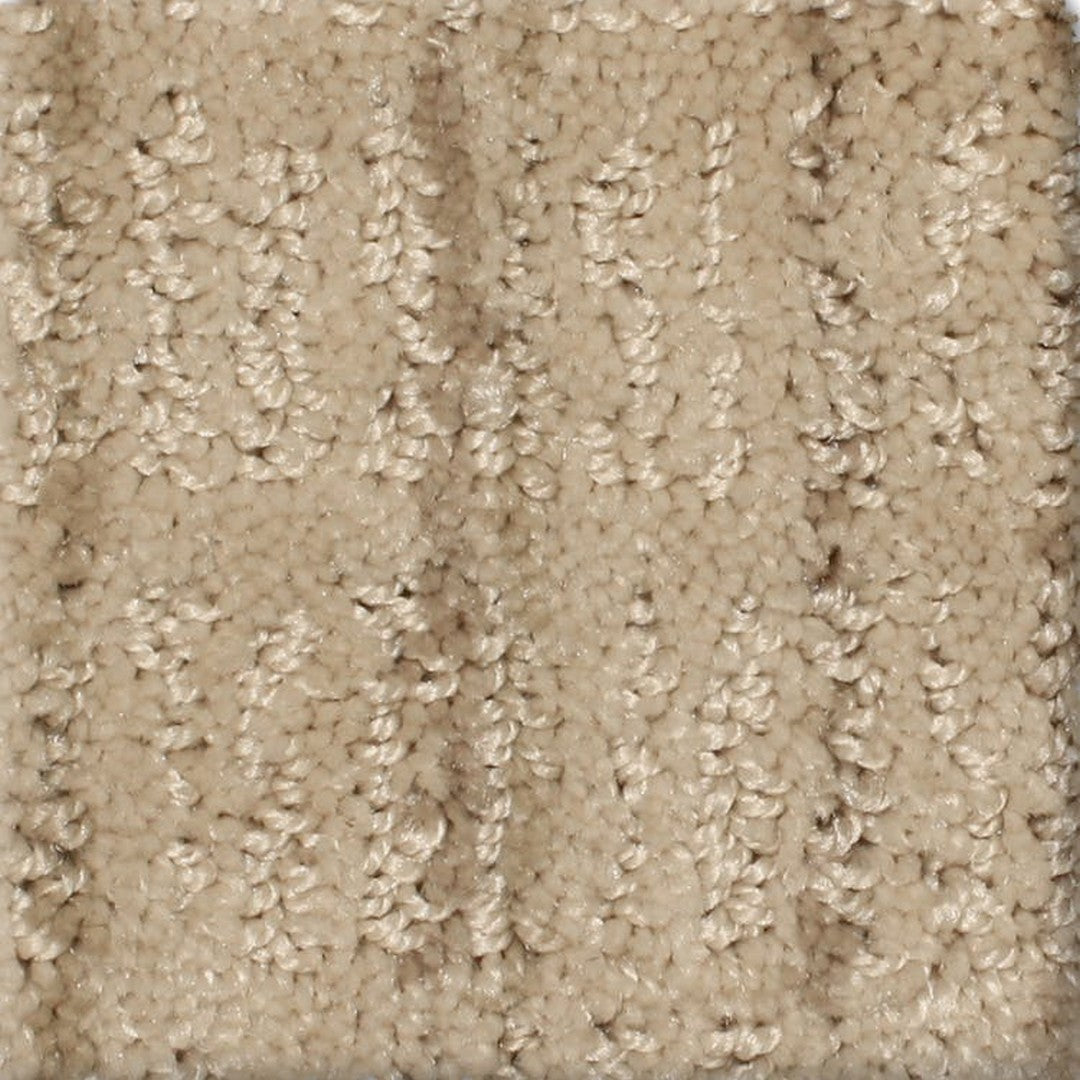
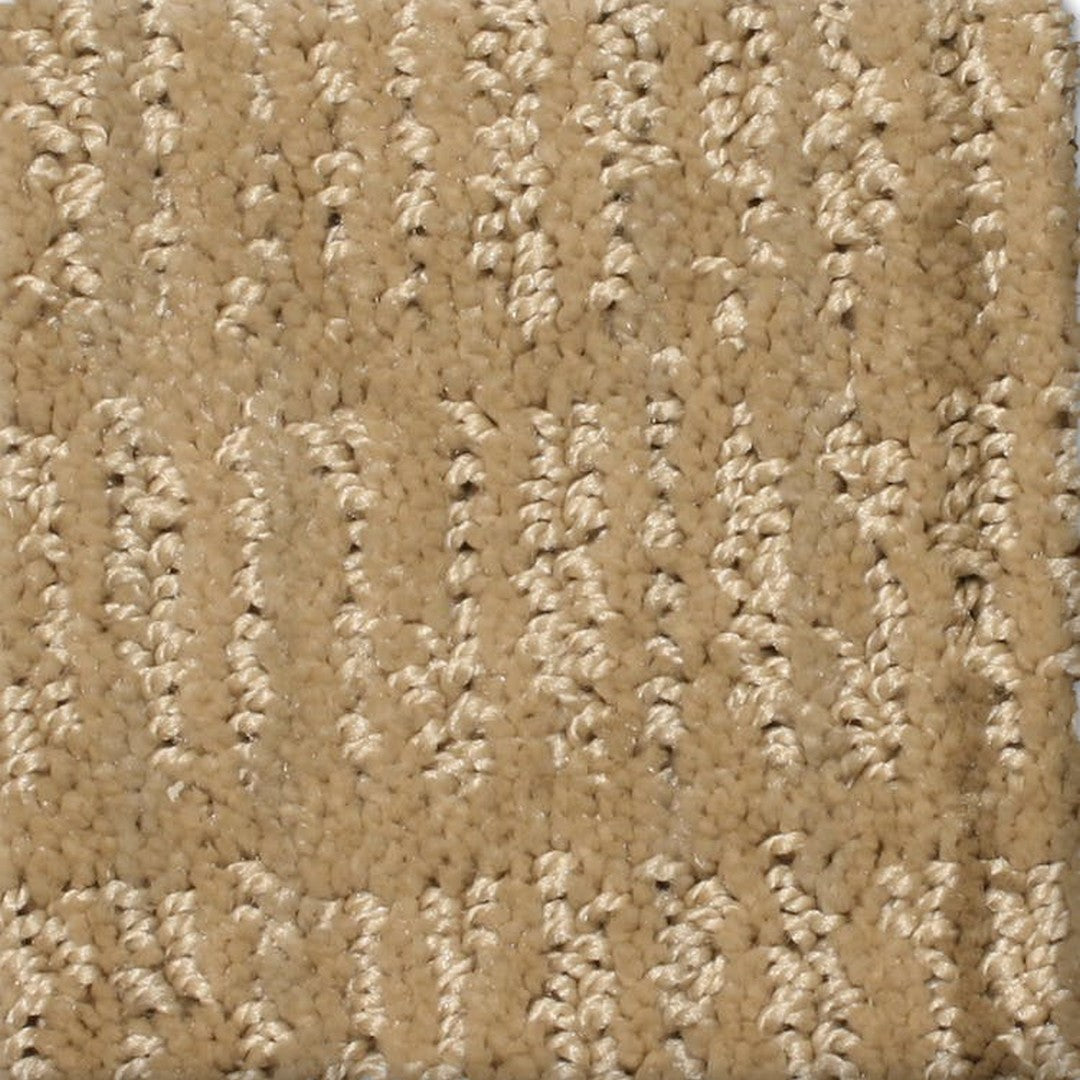
 Phenix Microban Etched 12' Polyester Carpet Tile

 Phenix Microban Entice 12' Polyester Carpet Tile


 Phenix Floor Ever Pet Plus 12' Emerson Carpet Tile

 Phenix Microban El Dorado 12' Polyester Carpet Tile

 Phenix Microban Dolce 12' Polyester Carpet Tile

 Phenix Microban Divine 12' Polyester Carpet Tile


 Phenix Floor Ever Pet Plus Del Mar 12' Carpet Tile
How to install Phenix Carpets at home
Installing Phenix carpets at home is a meticulous process that requires careful attention to detail and proper preparation. By following the steps outlined below, you can ensure a successful installation and enjoy the beauty and comfort of your new carpet for years.
1. Prepare the Subfloor:
Before installing, it's essential to prepare the subfloor properly. First, make sure the floor is clean, dry, and flat. Remove any existing flooring materials, such as carpet, hardwood, or vinyl, and inspect the subfloor for any imperfections or uneven areas. Use a leveling compound or floor patching compound to fill in any gaps or depressions and sand down any high spots to create a smooth surface.
2. Acclimate the Carpet:
Once the subfloor is prepared, it's time to acclimate the Phenix carpet to the room's temperature and humidity. Unroll the carpet in the room where it will be installed and allow it to sit for at least 24 hours. This step allows the carpet to get used to the room's conditions, which helps prevent it from expanding or shrinking once it's installed.
3. Measure and Cut:
Next, carefully measure the room where the carpet will be installed, making sure to add a few extra inches to each measurement to allow for trimming. Use a chalk line or straight edge to mark the cutting lines on the back of the carpet, ensuring that any patterns or designs align correctly. Use a sharp utility knife or carpet cutter to cut the carpet along the marked lines, taking care to make clean, straight cuts.
4. Install Tack Strips:
Before laying the carpet, install tack strips along the perimeter of the room. Position the tack strips about 1/2 inch away from the walls, ensuring that they are parallel and evenly spaced. Use nails or adhesive to secure the tack strips to the subfloor, making sure they are firmly in place.
5. Install the Carpet Pad:
Now that the tack strips are set up, it's time to put down the carpet pad. Lay the carpet pad across the whole area where the carpet will go, making sure it goes a bit past the tack strips. Cut off any extra padding with a utility knife, making sure the edges fit snugly together without overlapping.
6. Install the Carpet:
Now it's time for the big step: laying down the Phenix carpet. Begin at one corner of the room and roll out the carpet over the carpet pad, making sure it lines up with the walls. Use a knee kicker and a carpet stretcher to make sure the carpet is smooth and free of wrinkles. These tools help pull the carpet tight over the tack strips, which is important for a good job. Keep going across the room, attaching the carpet to the tack strips as you move along.
7. Trim and Tuck:
Once the carpet is installed, trim any excess carpet along the edges of the room using a carpet knife or trimmer. Use a tool like a carpet tucker or a putty knife to push the edges of the carpet into the space between the tack strip and the wall. This helps make the edges look neat.
8. Seam and Seam Tape:
If you're installing carpet in a larger room or using multiple pieces of carpet, you may need to seam them together using seam tape and a seaming iron. Follow the manufacturer's instructions for proper seam creation, making sure to blend the seams seamlessly with the surrounding carpet.
9. Finish the Edges:
Finally, install transition strips or moldings where the carpet meets other types of flooring, such as hardwood or tile. This helps to create a clean and finished look while also providing a smooth transition between different flooring materials.
10. Final Inspection:
Once the installation is complete, take the time to inspect the carpet for any visible seams, wrinkles, or imperfections. Make any necessary adjustments or corrections to ensure a professional and polished finish.
In conclusion, installing Phenix carpets at home requires careful planning, preparation, and attention to detail. By following the above-mentioned steps and taking the time to ensure a proper installation, you can enjoy the beauty and comfort of your new carpet for many years to come.


