


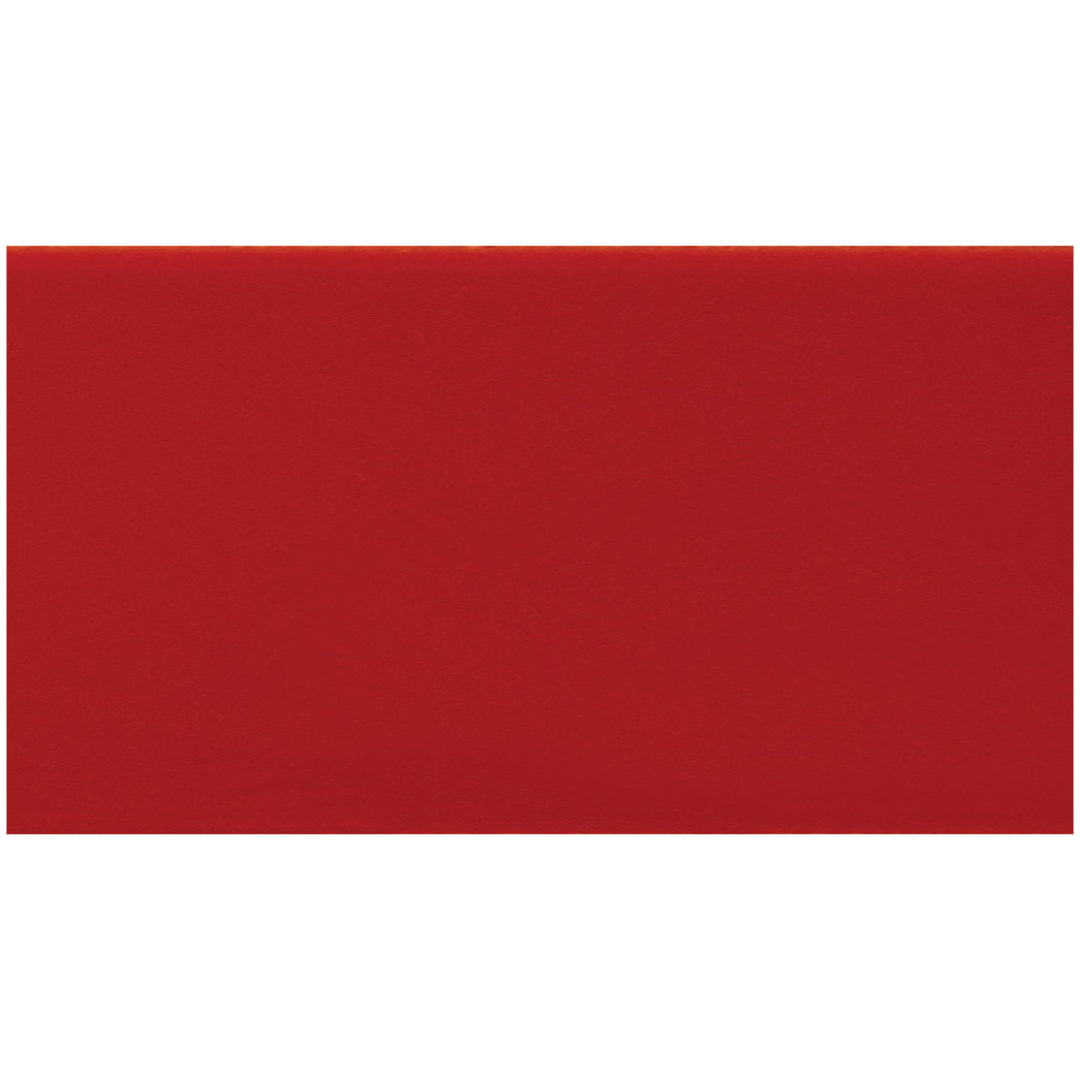
 Daltile Color Wheel Classic 3" x 6" Ceramic Wall Tile
Save 15%
Sale price
$5.05/SF
Regular price
$5.97/SF

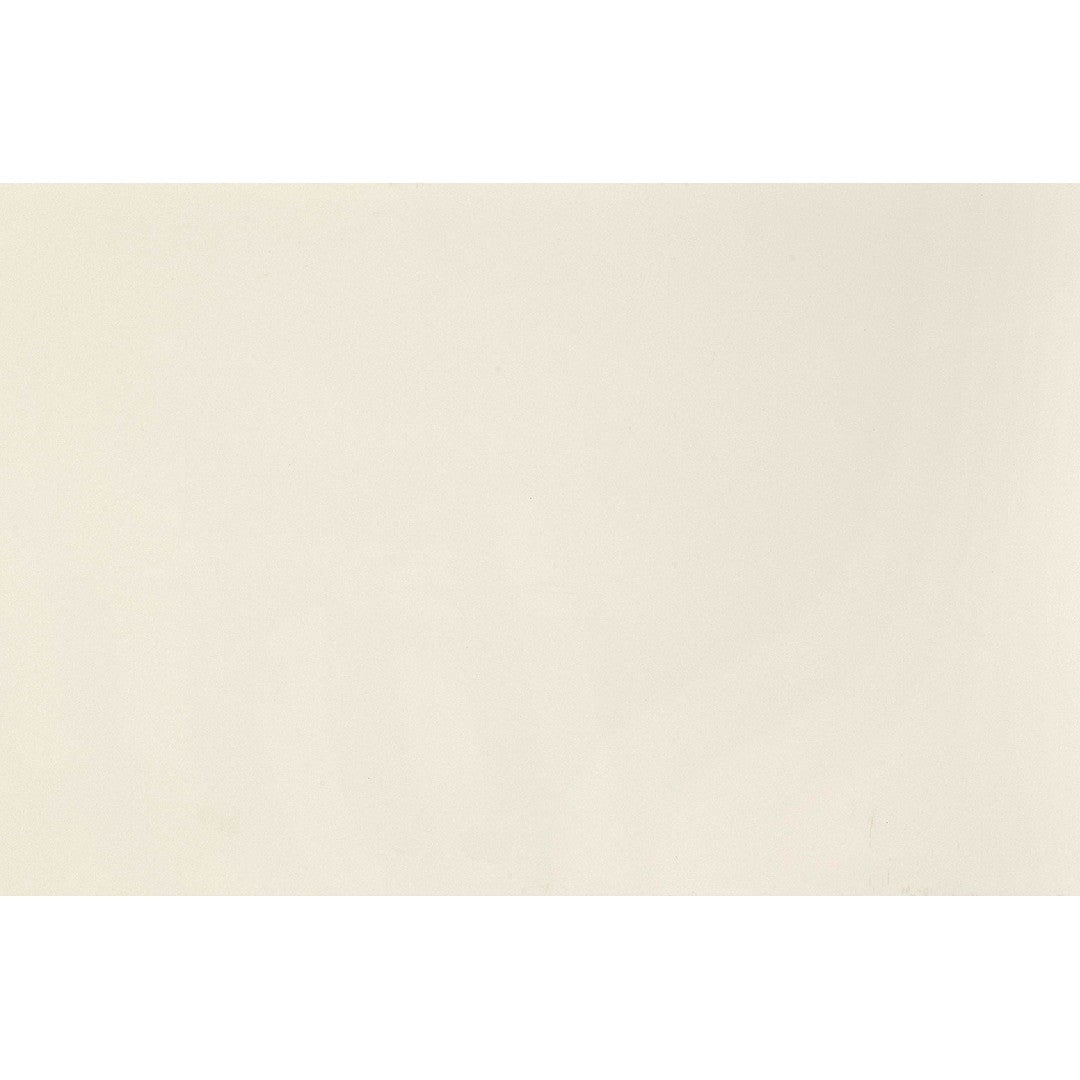
 Daltile Color Wheel Linear 4" x 8" Ceramic Wall Tile
Save 15%
Sale price
$9.3/SF
Regular price
$10.99/SF

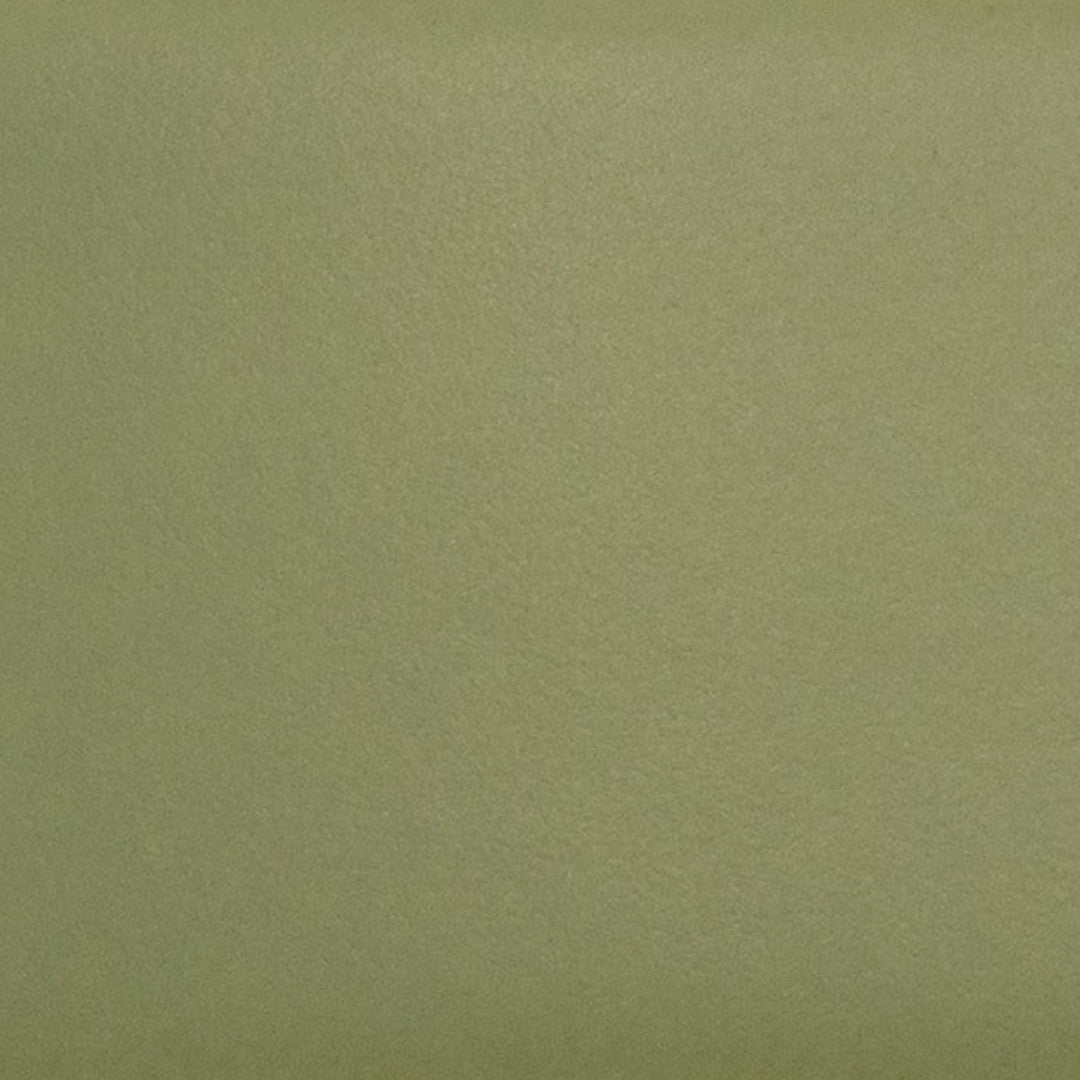
 Daltile Color wheel Linear 4" x 16" Ceramic Wall Tile
Save 15%
Sale price
$14.09/SF
Regular price
$16.66/SF

 Daltile Color wheel Linear 4" x 12" Ceramic Wall Tile
Save 15%
Sale price
$9.3/SF
Regular price
$10.99/SF

 Daltile Color wheel Linear 2" x 8" Ceramic Wall Tile
Save 15%
Sale price
$9.72/SF
Regular price
$11.49/SF

 Daltile Colormatch 4" x 16" Glossy Ceramic Wall Tile
Save 15%
Sale price
$24.88/SF
Regular price
$29.41/SF

 Daltile Colormatch 4" x 12" Matte Ceramic Wall Tile
Save 15%
Sale price
$24.88/SF
Regular price
$29.41/SF
 Daltile Colormatch 4" x 12" Glossy Ceramic Wall Tile
Save 15%
Sale price
$24.88/SF
Regular price
$29.41/SF

 Daltile Colormatch 3" x 6" Matte Ceramic Wall Tile
Save 15%
Sale price
$21.47/SF
Regular price
$25.38/SF

 Daltile Colormatch 3" x 6" Glossy Ceramic Wall Tile
Save 15%
Sale price
$21.47/SF
Regular price
$25.38/SF

 Daltile Colormatch 3" x 12" Glossy Ceramic Wall Tile
Save 15%
Sale price
$21.47/SF
Regular price
$25.38/SF

 Daltile Colormatch 2" x 8" Matte Ceramic Wall Tile
Save 15%
Sale price
$24.88/SF
Regular price
$29.41/SF

 Daltile Colormatch 2" x 8" Glossy Ceramic Wall Tile
Save 15%
Sale price
$24.88/SF
Regular price
$29.41/SF

 Daltile Colormatch 12" x 24" Matte Ceramic Wall Tile
Save 15%
Sale price
$24.88/SF
Regular price
$29.41/SF

 Daltile Colormatch 12" x 24" Glossy Ceramic Wall Tile
Save 15%
Sale price
$24.88/SF
Regular price
$29.41/SF

 Daltile Colormatch 10" x 14" Matte Ceramic Wall Tile
Save 15%
Sale price
$19.81/SF
Regular price
$23.41/SF

 Daltile Colormatch 10" x 14" Glossy Ceramic Wall Tile
Save 15%
Sale price
$19.81/SF
Regular price
$23.41/SF
 Daltile Composition 12" x 24" Matte Ceramic Wall Tile
Save 15%
Sale price
$6.31/SF
Regular price
$7.46/SF

 Daltile Composition 12" x 24" Glossy Ceramic Wall Tile
Save 15%
Sale price
$6.31/SF
Regular price
$7.46/SF

 Daltile Colormatch 8" x 24" Matte Ceramic Wall Tile
Save 15%
Sale price
$24.88/SF
Regular price
$29.41/SF

 Daltile Colormatch 8" x 24" Glossy Ceramic Wall Tile
Save 15%
Sale price
$24.88/SF
Regular price
$29.41/SF

 Daltile Colormatch 6" x 6" Matte Ceramic Wall Tile
Save 15%
Sale price
$19.81/SF
Regular price
$23.41/SF
 Daltile Colormatch 6" x 6" Glossy Ceramic Wall Tile
Save 15%
Sale price
$19.81/SF
Regular price
$23.41/SF

 Daltile Colormatch 6" x 18" Matte Ceramic Wall Tile
Save 15%
Sale price
$24.88/SF
Regular price
$29.41/SF