Peel & Stick Tiles
4 products
Showing 1 - 4 of 4 products


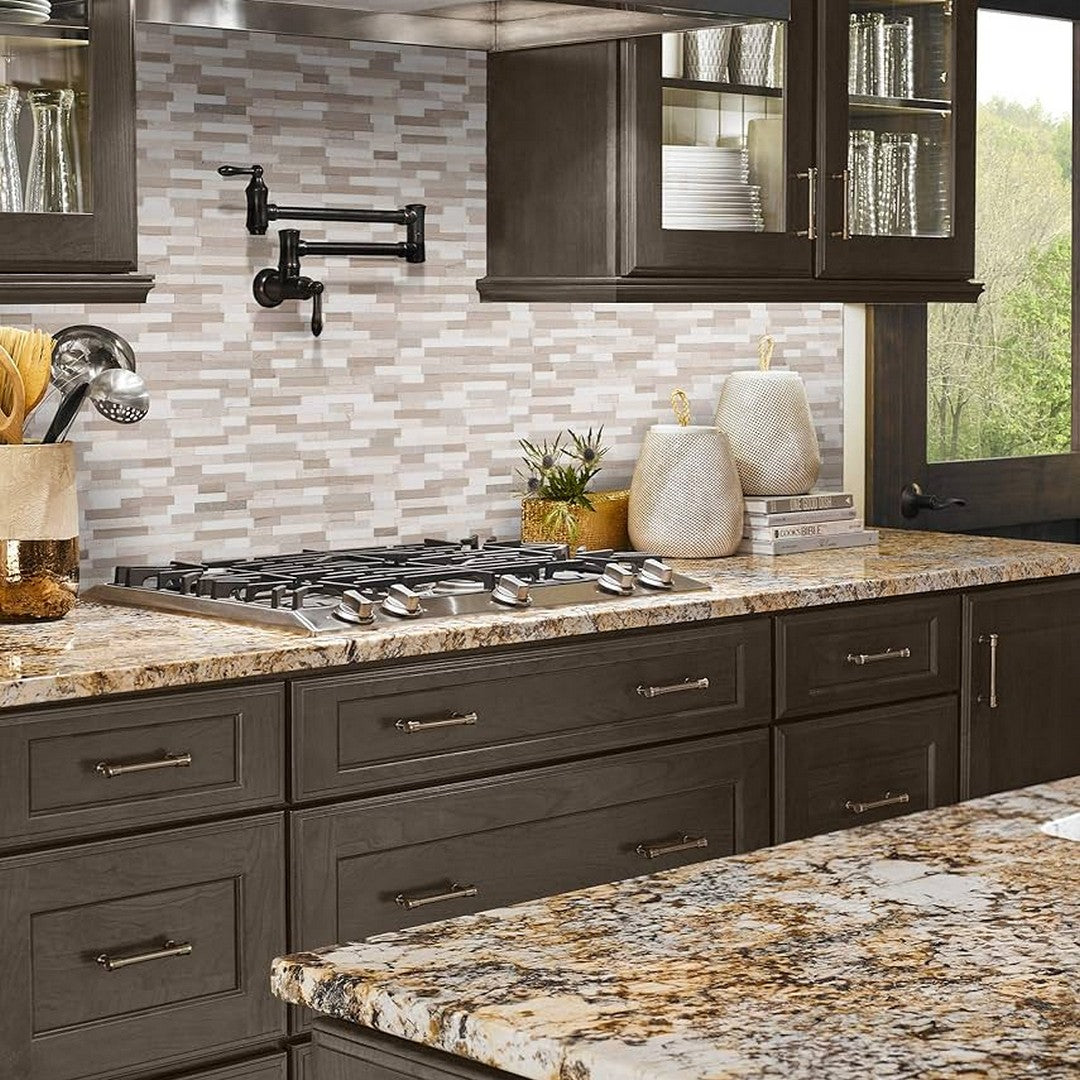
 MS International Arctic Storm 12" x 12" Honed Marble 3D Peel And Stick Mosaic
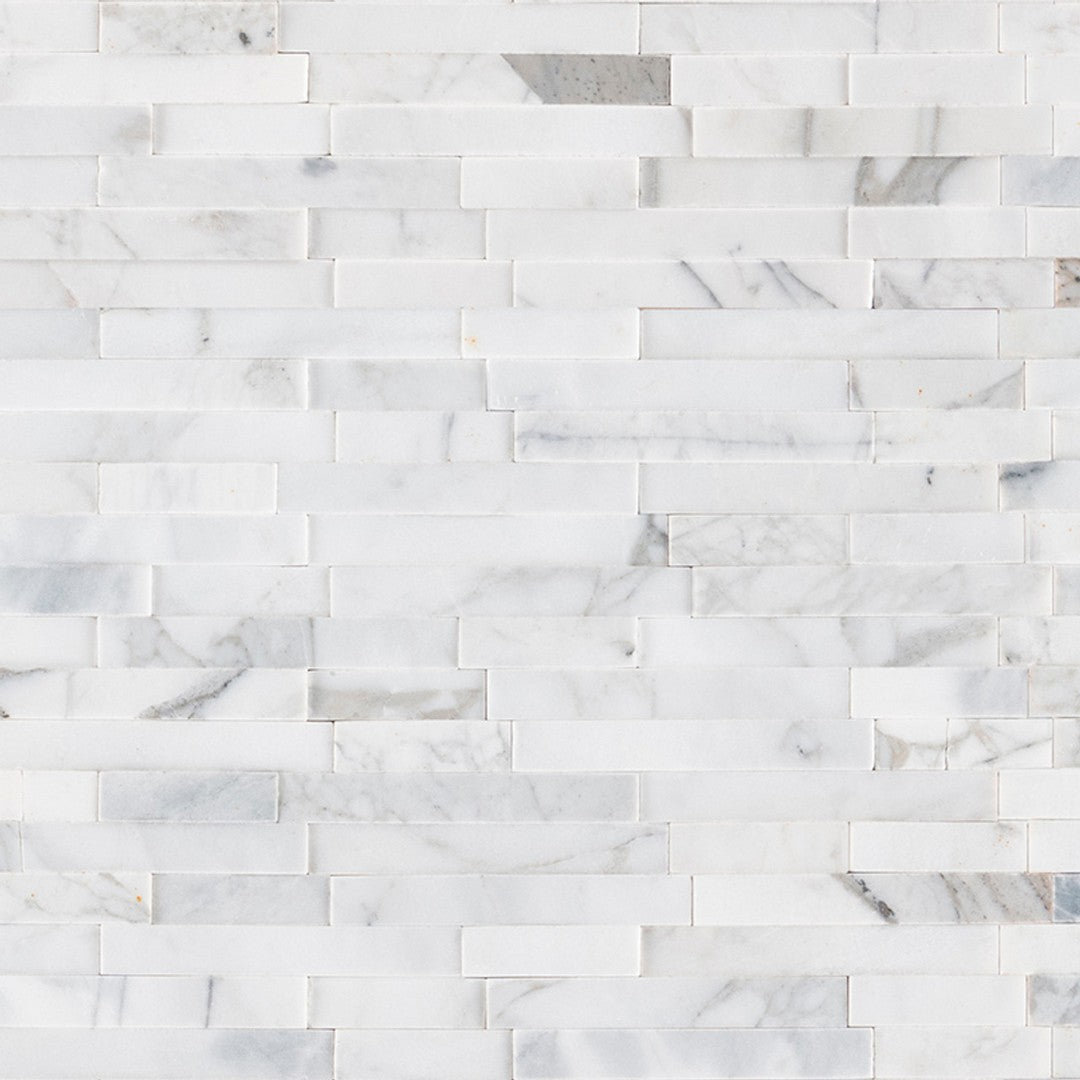
 MS International Calacatta Marbella Peel & Stick 12" x 12" Honed Marble Tile

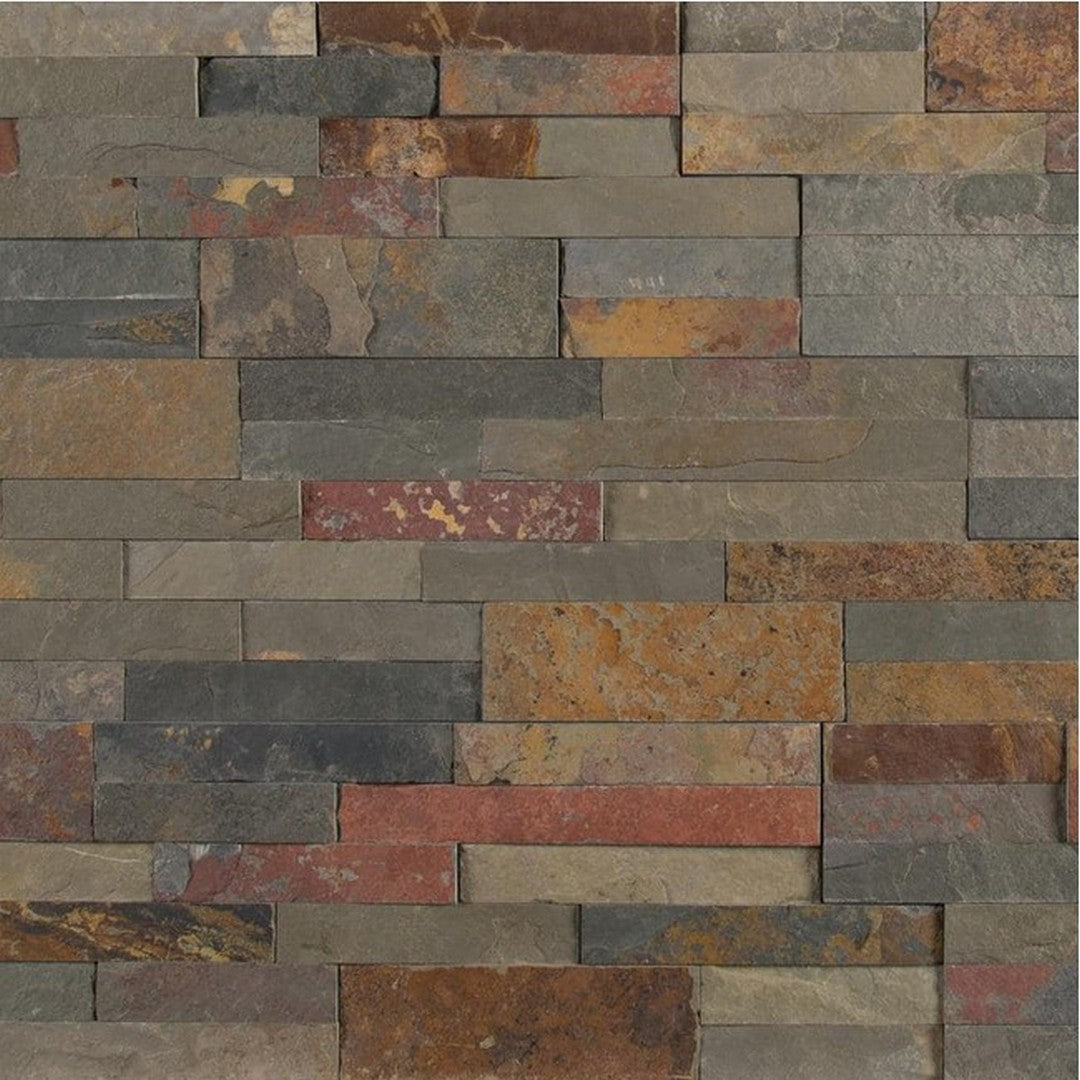
 MS International Splitface 12" x 12" Natural Stone Mosaic
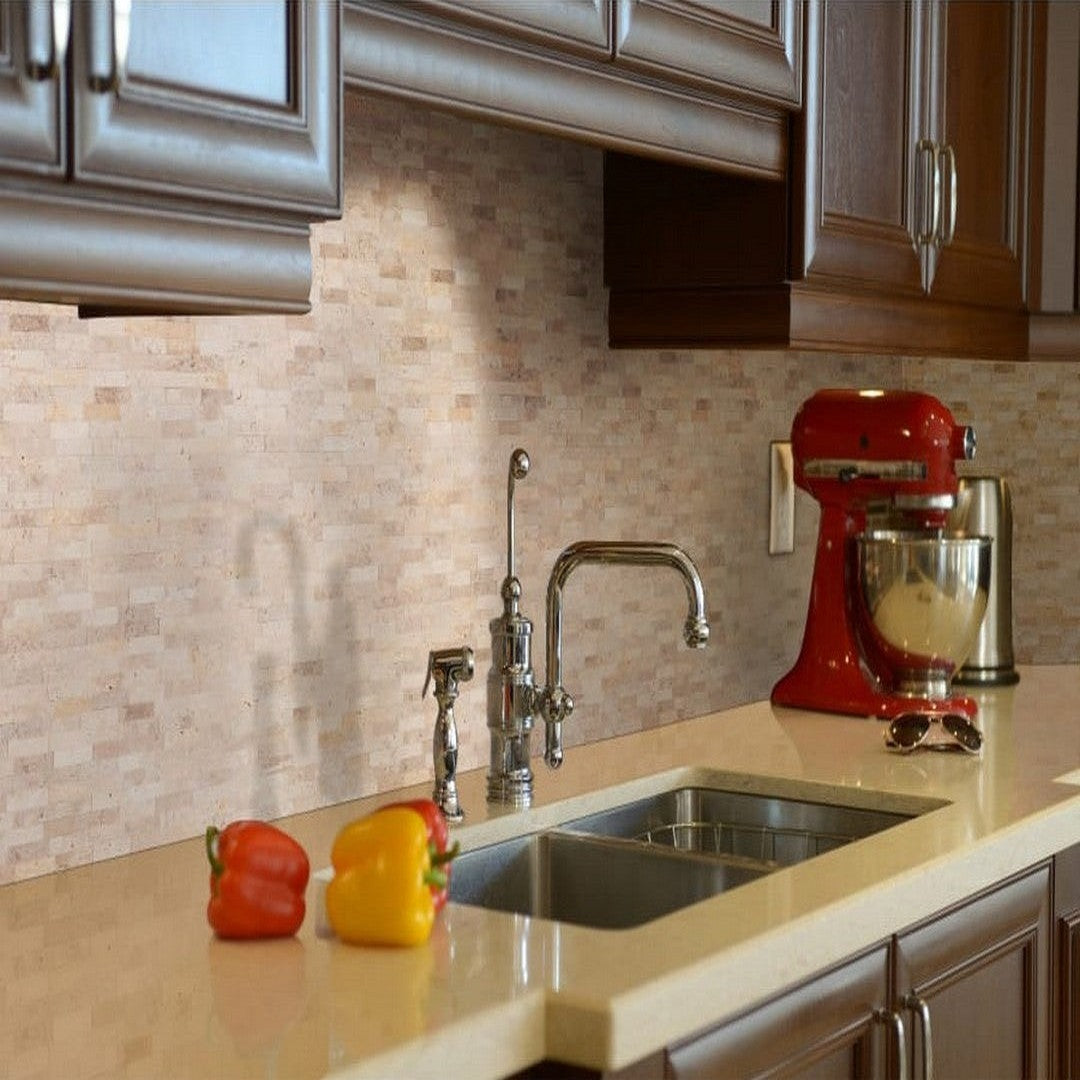
 MS International Veneer Peel & Stick Quartz 6" x 12" Natural Glass Wall Mosaic
Easy DIY: How to Install Peel and Stick Tiles
Peel and stick tiles are a simple and affordable way to upgrade your home without the mess of grout or special tools. Whether you're working on a kitchen backsplash, bathroom wall covering, or vanity area, these self-adhesive tiles provide a fast and stylish solution. Available in natural stone, marble, and classic subway designs, they’re perfect for DIY enthusiasts looking for a hassle-free installation.
Materials Needed:
✔ Measuring tape
✔ Utility knife or scissors
✔ Straight edge or ruler
✔ Level
✔ Sponge or roller
✔ Clean cloth & mild cleaner
Step 1: Prepare the Surface
A clean, dry surface ensures a strong bond between the wall and the adhesive. Before installing, wipe down the wall with a mild cleaner to remove grease, dust, or soap residue—especially in kitchens and bathrooms, where oil buildup or moisture is common. Let the surface dry completely before moving forward.
Step 2: Plan Your Layout
Before peeling off the backing, arrange the tiles on the surface to determine the best layout. For backsplashes or bathroom walls, consider starting from the center or a corner to maintain symmetry. Measuring the area beforehand helps minimize unnecessary cuts and ensures a seamless fit.
Step 3: Cutting the Tiles
Not every tile will fit perfectly, so you may need to trim around outlets, corners, or edges. Use a measuring tape and a straight edge to mark precise cuts. Scissors work for softer tiles, while a utility knife is best for cutting natural stone or marble peel and stick tiles.
Step 4: Install the Tiles
Peel off the backing and press the tile firmly onto the wall, starting from the center outward to prevent air bubbles. Use a sponge or roller to secure the tile, ensuring full adhesion. Continue placing tiles row by row, using a level to maintain straight lines.
Step 5: Final Touches
After installation, inspect the tiles for alignment and adhesion. Press down on the edges to ensure they are secure. Wipe the surface with a clean cloth to remove any dust or residue. Your kitchen backsplash or bathroom wall is now ready to enjoy!
Why Choose Peel and Stick Tiles?
✔ Fast & Easy Installation – No grout, no mess, and perfect for DIY projects.
✔ Affordable Upgrade – Cost-effective way to revamp walls, backsplashes, and vanity areas.
✔ Variety of Designs – Available in subway styles, natural stone, and marble finishes to match any décor.
✔ Low Maintenance – Easy to clean and moisture-resistant, making them ideal for kitchens and bathrooms.
Shop Top Brands:
Find high-quality adhesive floor tiles at competitive prices from trusted brands like Daltile and MS International. Whether you prefer classic subway tile, marble finishes, or natural stone looks, there’s an option for every home.
What's in your Mind?
Q) Are peel-and-stick tiles waterproof?
A) Most peel-and-stick tiles are water-resistant but not completely waterproof. They work well for kitchen backsplashes, bathroom walls, and vanity areas, but they are not ideal for areas exposed to constant water, such as shower interiors or wet floors.
Q) Can peel and stick tiles handle the heat from a stove?
A) While some high-quality peel-and-stick tiles can withstand heat, it's recommended to keep them at least 6 inches away from direct heat sources like stovetops in the Kitchen. Adding a heat-resistant backsplash shield can help prevent damage.
Q) Can I remove peel and stick tiles without damaging the wall?
A) Peel and stick tiles can be removed without causing major damage, but some adhesive residue may remain. Using a hairdryer to soften the adhesive makes removal easier. If any residue is left behind, clean it with warm soapy water or adhesive remover.

